Delete files securely from the Explorer context menu with SDelete GUI
Securely deleting files is a good way to prevent unauthorized recovery of personal and confidential data. There are many programs which help you achieve this, like the highly-rated SDelete utility from Sysinternals.

The problem is, it's a command-line tool, and I think it's safe to say the majority of users don't use such programs. Why? Because they aren't user-friendly.
SDelete GUI is an open source program that makes it easy to use the deletion tool it is named after.
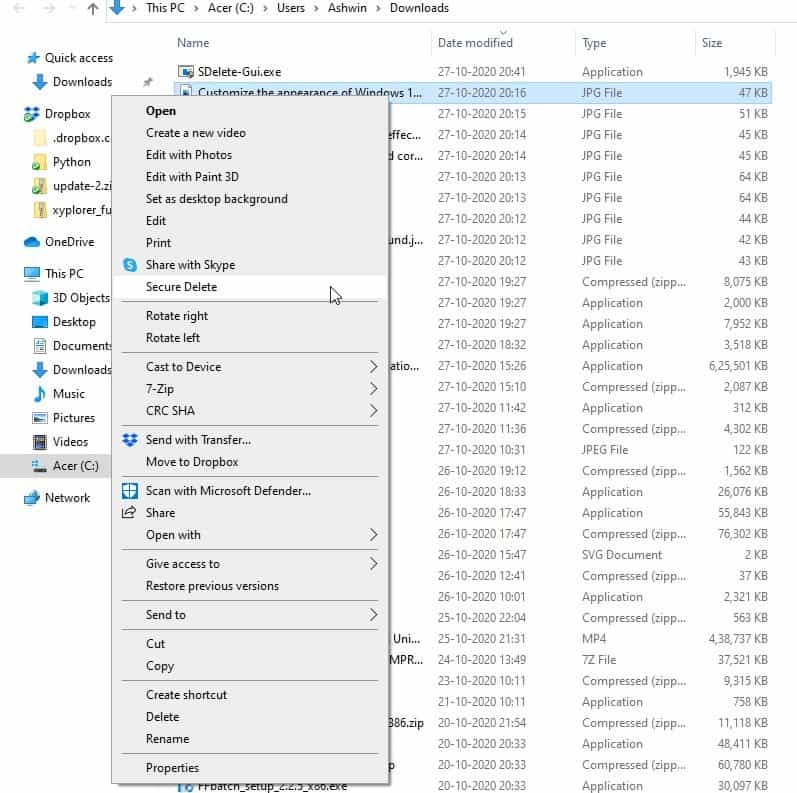
The application is a shell extension, which means it will be added to the Windows Explorer Context menu. Download SDelete GUI and run it, you'll need to accept the UAC prompt because adding the entry to Explorer requires administrator privileges.
When you run it, SDelete GUI asks you to select the number of passes, this is the number of times the data will be overwritten. The program is set to use 10 passes, but you can increase or decrease this number by using the + and - buttons or by typing a number from 1-100 in the text box.
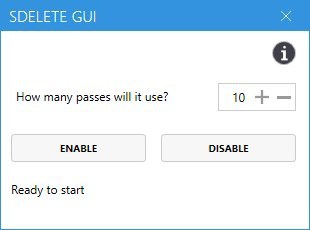
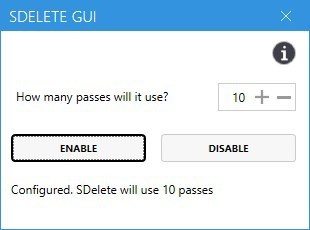
Click on the enable button and a message should appear that says "Configured. SDelete will use 10 passes".
That's basically the only option that is available in the program, so you can close the window. Open Explorer and right-click on a file or folder that you want to erase. You should see a new option in the context menu that says "Secure Delete". When you click on it for the first time, SDelete's license agreement will appear, and you will need to accept it to install the free utility. This is a one time thing.
You'll need to use the context menu option again. When you hit Secure Delete, a command prompt window should quickly open and close, and your file will be erased. And since the program relies on SDelete, the deletion method that it uses is the same DOD 5220.22-M standard.
A manual command for the same would look like this: sdelete -p 10 C:\Users\Ashwin\Downloads\Test.mp4
It may look simple for advanced users, but think about how convenient having a context menu item will be, especially when you want to delete a ton of files and folders. It saves you a lot of time.
Warning: SDelete GUI does not display any message to warn you, when you choose the delete command from the context menu. This can be a big problem if you accidentally select the wrong file or folder.
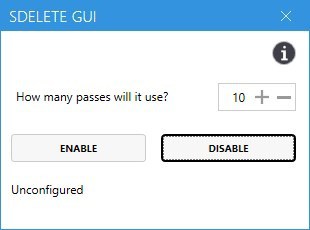
There is a workaround for this issue. Run the SDelete GUI executable again, and click on the Disable button to remove the tool from the context menu. When you want to use the program, enable it and delete your files. Once you are done with it, disable it again. This isn't convenient, but it offers a good way to prevent unwanted data loss.
Personally, I find the lack of support for the rest of SDelete's commands to be slightly disappointing. But given that SDelete GUI's goal is to make secure file deletion user-friendly, I think it may be unfair to criticize it too much.
SDelete GUI is an open source program, written in C#.











Articles on this topic:
â— Securely deleting files is a good way to prevent unauthorized recovery of personal and confidential data.
â— SDelete GUI is an open source program that makes it easy to use the deletion tool it is named after.
â— The program is set to use 10 passes, but you can increase or decrease this number by using the + and – buttons or by typing a number from 1-100 in the text box.
â— The program relies on SDelete, the deletion method that it uses is the same DOD 5220.22-M standard.
Although the actual situation of deletion is important for the “data deletion” method, there are problems specific to HDD, SSD, and OS, and if an inappropriate method is adopted, the recording medium may be “damaged”. Therefore, users are required to make careful judgment.
Data remanence | Wikipedia
https://en.wikipedia.org/wiki/Data_remanence
An excerpt:
As of November 2007, the United States Department of Defense considers overwriting acceptable for clearing magnetic media within the same security area/zone, but not as a sanitization method. Only degaussing or physical destruction is acceptable for the latter.
On the other hand, according to the 2014 NIST Special Publication 800-88 Rev. 1 (p. 7): “For storage devices containing magnetic media, a single overwrite pass with a fixed pattern such as binary zeros typically hinders recovery of data even if state of the art laboratory techniques are applied to attempt to retrieve the data.” An analysis by Wright et al. of recovery techniques, including magnetic force microscopy, also concludes that a single wipe is all that is required for modern drives. They point out that the long time required for multiple wipes “has created a situation where many organisations ignore the issue all together – resulting in data leaks and loss.”
Data sanitization
DoD 5220.22-M is sometimes cited as a standard for sanitization to counter data remanence,
the NISPOM does not actually specify any particular method. Standards for sanitization are left up to the Cognizant Security Authority.
As of the June 2007 edition of the DSS C&SM, overwriting is no longer acceptable for sanitization of magnetic media; only degaussing or physical destruction is acceptable.
https://en.wikipedia.org/wiki/DOD_5220.22-M
Secure Deletion of Data from Magnetic and Solid-State Memory
Peter Gutmann
Department of Computer Science
University of Auckland
https://www.cs.auckland.ac.nz/~pgut001/pubs/secure_del.html
I prefer the “PrivaZer†and “ShellbagAnalyzer & Cleanerâ€.
https://www.ghacks.net/2020/10/23/get-even-more-windows-cleaning-done-with-cleanmgr-and-burnbytes-combined/#comment-4476145
Pre-made batch files for sdelete, that can be right clicked via “send to” are easy to find, including on this very blog’s archive.
Besides, sdelete is strongly tied to hard disk tech and is less than optimal on nand memory, for which it was never updated, unless I’m mistaken. I stopped looking when ssd replaced HDisks as memory workspace.
sdelete gui install sdelete 32bit on windows x64, i don’t know, it’s bug ?
I’ve been using “Eraser” (https://eraser.heidi.ie/) for years. However, I have to use an older version of the program because the author made the program more difficult to use and the context menu more clumsy. It’s good to hear about a program like this one. Thanks, Ashwin!
SDelete or Eraser 6?
SDelete/UI or Eraser 6?
Not required for SSDs as they already make it hard to recover deleted data once the TRIM operation occurs.
Added SDelete to Recycle Bin however my files on partitioned drive letters D, E, F, G, and I are not getting deleted. Drive C is SDD and I get an error message when deleting files. How can I fix this?