Configure Linux printing via web browser

One of the issues surrounding Linux is the fact that, because there are so many distributions, there are so many ways to configure various aspects of the operating system. One such aspect is printing. Each distribution has its own way of configuring a printer. However, because of CUPS (Common UNIX Printing System) you have a standardized method of configuring your printer built right in.
The CUPS web administration tool is easy to work with and can be used on any distribution that has CUPS installed. In this article you will see how simple it is to add a printer to a Linux system via the CUPS web interface.
Getting and installing
Although CUPS is usually installed on most distibutions, it might be best to show how this printing system is installed. The easiest method is to open up the Add/Remove Software utility, do a search for "cups" (no quotes), select the results, and apply the changes. If you prefer the command line you can do something like this (from terminal window):
yum install cups
NOTE: You must have root privileges for the above.
sudo apt-get install cups
After the installation is complete, the cups daemon should start itself. If you find it has not you can start it with one of the following commands:
/etc/rc.d/init.d/cups start
NOTE: The above will require root privileges.
sudo /etc/init.d/cups start
Getting to and using the web interface
You might think you need a web server installed for this. You don't. The CUPS system has its own server that will serve up the web interface, so you do not have to install Apache. To get to this interface open up your browser and enter:
http://localhost:631
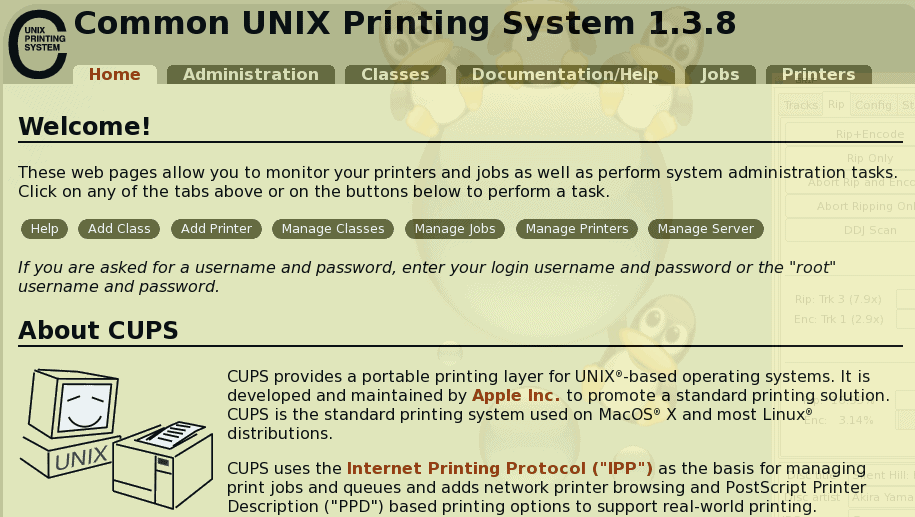
The first page you will see will be that shown in Figure 1. From this page you can take care of all of your printer needs. You can manage print jobs, manage printers, create and manage printer classes, and read CUPS documentation.
In order to add a printer click on the Administration tab and then click the Add Printer button (see Figure 2).

Once you click on the Add Printer button you will walk through a printer setup wizard. Most of the steps in this wizard should be fairly straight forward. Below is the list of the information you will need to supply for adding your printer:
Name: Name your printer (no spaces, "/", or "#" characters).
Location: Human readable location for the printer.
Description: Human readable description of your printer.
Device: How the printer interfaces with your machine. This could be LPT, SCSI, AppSocket, Samba, Internet Printing Protocol, etc. If your printer is attached locally you will most likely see it in this listing.
Device URI: If you are using IPP you will need to supply this address which will look something like ipp://IP_ADDRESS_TO_PRINTER_SERVER/SPOOL
Where IP_ADDRESS_TO_PRINTER is the actual IP address for your printer server and SPOOL is the name of the spool your printer is attached to.
Make: The brand of your printer.
Model: The model of your printer.
During the last step (selecting the Model of your printer) you will click the button "Add Printer" at which point you will have to supply the username and password of the user who is allowed to make these changes. This will either be the root user or a your standard user (if using sudo).
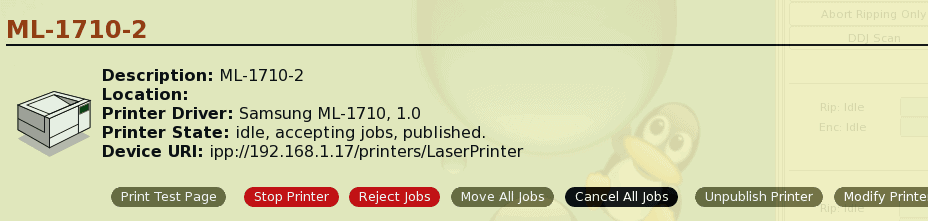
Once the printer is added you will see it listed in the Printers tab. The listing of each printer (see Figure 3) will allow you take a number of actions on a printer including:
- Print test page
- Stop printer
- Reject jobs
- Move all jobs
- Cancel all jobs
- Unpublish printer
- Modify printer
- Set printer options
- Delete printer
- Set as default
- Set allowed users
Final thoughts
Setting up a printer in Linux is actually quite simple. And having a standardized interface means setting up a printer can be the same no matter what distribution you are using.
Advertisement


Yeah, I also having the same problem , thanks a lot.
Thanks…..