Create custom actions with the Thunar file manager

The Thunar file managers is one of the best graphical file manager available for the Linux operating system. Thunar is the file manage of choice for the Xfce 4 desktop as well as Enlightenment E17. Written in GTK+ 2, Thunar can be used in nearly any X Windows graphical environment with GTK+ 2 support.
One of the most under-appreciated aspects of Thunar is the ability to create custom actions. A custom action is a user-configure item that interacts with Thunar plugins so you can quickly take action on files within a directory. Say, for instance, you want to quickly print a file. Instead of having to open that file in the dedicated application, you simple right click a file and you will see a newly created Print File custom action that I am going to show you how to create.
Creating custom actions for Thunar will really make this file manager useful. Depending on how resourceful you are, you could create some really handy actions. Some of the more useful actions you can create are:
- Print a file.
- Finding files in current folder. NOTE: For this action you will need the gnome-search-tool installed.
- Manipulating archives.
- Playing audio files.
- Burning iso CDs from file.
- Set as background.
And so much more.
So now let's take a look at how to create customized actions.
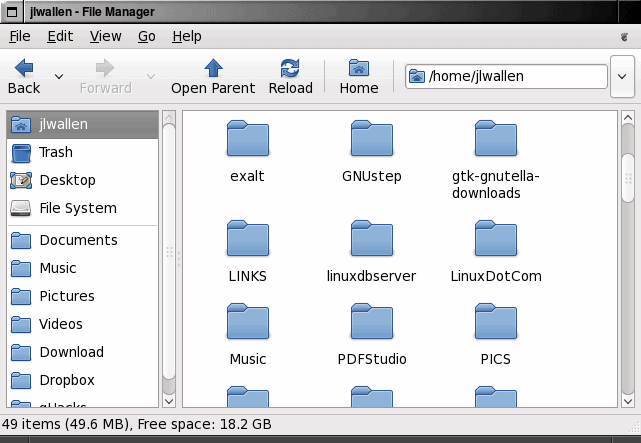
The first thing you need to do is open up Thunar. This will depend upon the window manager/desktop you are using. If you can't figure out how to open up your file manager (it should be obvious) you can always open up a terminal window and issue the command thunar. When Thunar opens (see Figure 1) click on the Edit menu to reveal the Configure Custom Actions entry. Click on that entry to open the Custom Actions window.
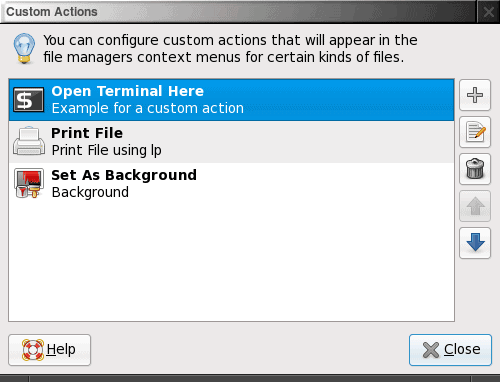
By default you will most likely only see one action included, Open Terminal Here. As you can see, in Figure 2, I have two other custom actions created: Print File and Set As Background.
First let's create the Print File action. Click on the "+" symbol to open the Add Action window (see Figure 3).
For the most part the configurations for the new action should be obvious. In the case of the Print File action we will be using the "lp" command in order to make this happen.
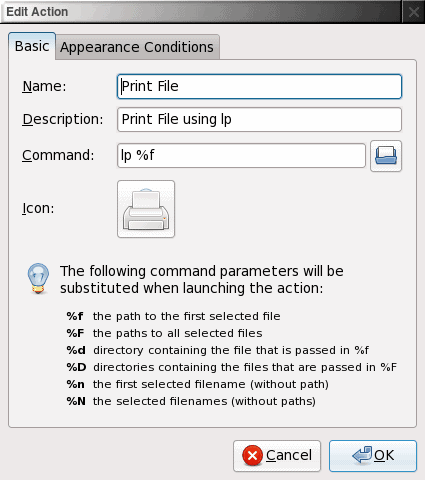
For the custom actions you can use anything for the Name and description. Remember, though, the Name will be what appears in the Right Click menu so you will want to keep that obvious and to the point.
Also notice the "%f" in the command line. As you can see the New (or edit) action window includes a listing of what each of these switches does. This switch is crucial to the action, because without it the customized action will have no idea what file it is working on.
If you click on the Icon button a window will open with quite a few icons to choose from. If you don't find what you are looking for in the window that opens, click the "Select Icon From" drop down and switch to a different listing. You should be able to find a suitable icon for your action.
Before you click OK click on the Appearance Condition tab. In this tab you have to select the file types which this action applies to. Obviously you will want to select Text Files. You could also select Image Files to print images as well.
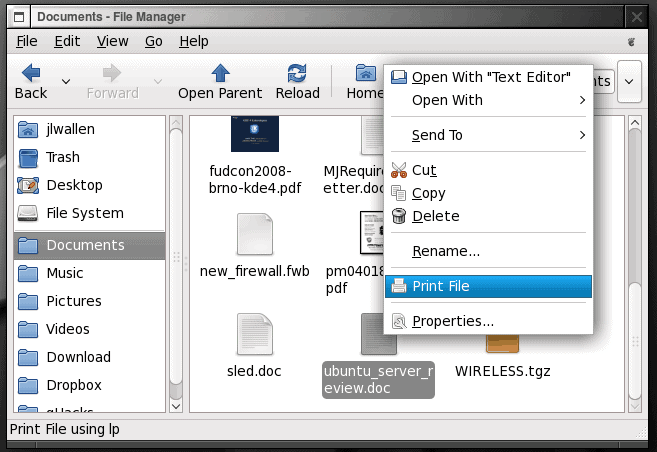
After you fill out the necessary information, click OK and your action is complete. Now, navigate to a file within Thunar you want to print, right click the file, and behold the new menu entry "Print File" (see Figure 4).
Now let's create an action that will make setting a background quick and painless. This will work for Window managers like Window Maker, Fluxbox, etc. This action requires the fbsetbg command. You will create this action similarly to the Print File command. In the "command" field you will enter:
fbsetbg %f
You will also want to select only Image Files from the Appearance Conditions tab. Click OK when you have completed this action. Now when you right click on any image within Thunar you will see an entry similar to what you configured for the Name of the set background action. In my case I named the action "Set As Background". So when I right click an image in Thunar I see "Set As Background" listed. By clicking that the desktop wallpaper instantly changes to the image desired.
Final thoughts
The Thunar file manager is an outstanding entry in the file manager space. It is fast, reliable, user-friendly, and (with the help of custom actions) customizable. See what types of custom actions you can come up with. If you have a really handy one, share it with your fellow ghacks readers.
Advertisement


