Add serious web content control with WebContentControl in Linux

There are many reasons why you might want or need to control what is seen via a web browser. Be it children, work, or any other reason, you might want to have more control than just your standard proxy software offers. That is where the incredibly powerful WebContentControl comes into play.
The WebContentControl GUI takes control of (and helps you configure) DansGuardian, FireHol, and TinyProxy to create a very powerful system for controlling access to web sites. Let's take a look at how this tool is installed and used.
Features
- Automatic configuration of Dansguardian, Tinyproxy, Firehol at installation.
- GUI to start/stop the filtering and configure all control tools (Dansguardian, Tinyproxy, Firehol).
- Instead of overwriting or replacing config files, it will change what's necessary.
- Config files are backed up during installation and restored during uninstallation.
- SSL filtering.
Installation
I am going to show you how this tool is installed in Ubuntu. You won't find this in the standard repositories, so the installation isn't as simple as many installations. Here are the steps for installation:
Open a terminal window.
Issue the command sudo add-apt-repository ppa:webcontentcontrol/webcontentcontrol
Issue the command sudo apt-get update
Issue the command sudo apt-get install webcontentcontrol
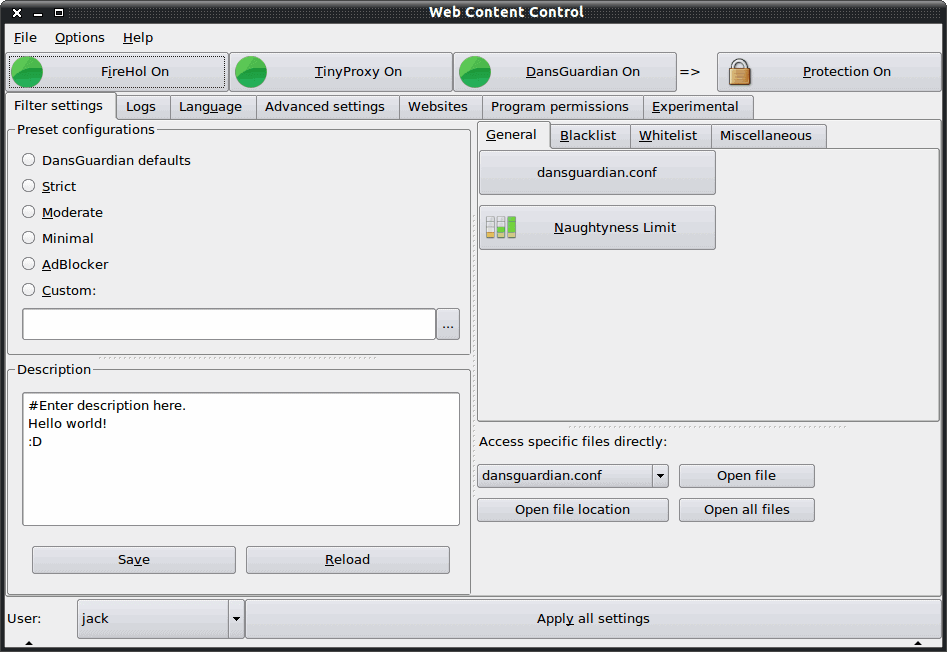
The installation might take longer than you would expect, as it is also configuring the necessary proxy software. Once WebcontentControl is installed, you can start the application with the command sudo webcontentcontrol. When the main window opens (see Figure 1), you might, at first, be a bit overwhelmed with what looks like more than your average content control system. Fear not, we will make sense of this tool.
Usage
Along the top of the window are three large buttons. Each of these buttons turns on or off either Firehol, TinyProx, and/or Dansguardian. If the button say On that means that service is on. If one of those is off, and you want it on, just click the button to turn it on.
In the Filter Settings tab you can control the preset configurations for DansGuardian, set the policies (from a simple AdBlocker policy to a Strict policy), access the DansGuardian configuration file directly, Set the naughtyness limit for DansGuardian, configure your blacklists/blocked IPs/banned sites/banned URLs/etc, and much more.
Let's take a look at configuring a banned site with WebContentControl. Follow these steps:
- Open up WebContentControl.
- Click on the Filter Settings tab.
- Click on the Banned Sites button.
- When Gedit (or your default text editor) opens scroll down to the section titled "#List other sites to block:".
- Enter the sites you want to block.
- Save the file.
- Close Gedit.
- Click the Save button.
Once you've done this you will need to set up your web browser to use the proxy IP address and port you have configured (by default the port will be 3129). When you try to open a blocked site, if you get an error that TinyProxy is not letting you through, or the browser is actually able to hit the blocked web site, make sure TinyProxy is running. Issue the command sudo /etc/init.d/tinyproxy start. When TinyProxy is running, try to hit the site again and you should see an Access is Banned error. Your web content is now being monitored and filtered.
Advertisement


