Instruct your users or manage your classroom with iTALC

iTalc is one of those programs that, when you see it up and running, is a thing of brilliance. But what is it? iTALC is a didactical tool that allows a teacher to view and/or control a students' PC on the internal network in multiple ways. It supports Linux and Windows and can be used in transparently in mixed environments.
iTALC has a clean interface, is not insanely difficult to set up, works beautifully, and is FREE (both in cost and in source). With iTALC you can see what is going on in your classroom in overview mode, remote-control a PC, show a demo, lock workstations, send messages to students, power on/off machines, login/logout students. In this tutorial I am going to show you how to get iTALC up and running on two Ubuntu 9.10 machines. From that you should be able to re-create the steps to have an entire classroom working.
Installation
Most of the dependencies should already be met on your Ubuntu machine. If not, what you need is:
- libqt4-dev
- xorg-dev
- libxtst-dev
- libjpeg62-dev/libjpeg-devel
- zlib1g-dev/zlib-devl
- libssl-dev/openssl-devel
You will also need and ssh client and server running to transfer keys during setup.
The first installation we will do is the Master. The Master is the teacher machine. For this fire up Synaptic, search for "italc" (no quotes), select italc-master for installation, and click Apply to install. You could also just open up a terminal window and issue the command:
sudo apt-get install italc-master
Now go to the student machine and do the same thing, only this time you will be installing italc-client. You can do this with Synaptic or from the command line with:
sudo apt-get install italc-client
Once both softwares are installed you are ready to start the configuration.
Configuration
The first thing you need to do is on the client machine configure the iTALC client daemon (ica) to run upon boot. You have to run this so users can not kill the daemon. To do this issue the command:
sudo gedit /etc/gdm/Init/Default /etc/gdm/PreSession/Default
This will open up two files in gedit. You need to add, near the top of both files:
killall ica &
/usr/bin/ica &
Once you have done this, log out and log back in to the machine. Now it is time to set up authentication.
Keys
Of course you have to add authentication, in order for the Master to get to the clients. To do this, go to the Master machine and issue the command:
ica -role teacher -createkeypair
The above command will create a keypair in /etc/italc/keys. What you need to now do is copy these keys to the client machine using scp like so:
scp -r /etc/italc/keys USERNAME@IP_ADDRESS:/tmp
Where USERNAME is the username on the client and IP_ADDRESS is the address of the client machine.
Once this directory is on the client machine, move to the client machine and issue the following commands:
sudo rm -rf /etc/italc/keys
sudo mv /tmp/keys /etc/italc/
You are now ready to fire up iTALC.
Using iTALC
On the Master machine you will need to make sure iac is running before you fire up the Master Control. So open up a terminal window and issue the command:
ica &
Now that the daemon is running, issue the command:
italc
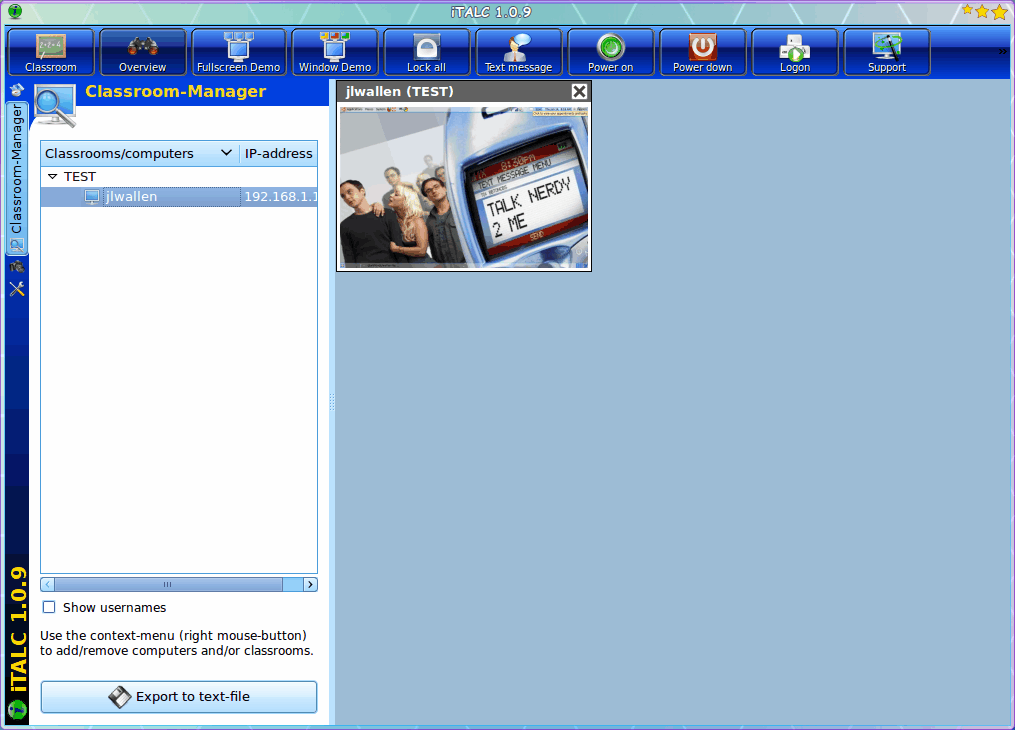
The Master Control tool will open (see Figure 1), only you will not have any classrooms or computers added.
The first thing you need to do is add a Classroom and then a Computer. To do this right click the left pane and select Add Classroom. Give the Classroom a name. Now add a computer by right clicking the same location and selecting Add Computer. When this new window opens (see Figure 2) you need to add the IP/Hostname, Name (such as student name or workstation name/number), select a Classroom for this machine, and set it as a Student computer in the Type drop-down. Click OK to finalize this addition.
That new computer will show up in the main Pane as a thumbnail of what is currently happening on the desktop of that machine. If you right-click that thumbnail you will get a menu of all of the actions you can take on that machine. It's quite simple to take over a workstation this way.
When you do take over (or just view) a workstation, iTALC will go into full-screen mode. If you want to switch to windowed mode you can bring the icon bar back by holding your mouse at the top edge of your screen and then click the Windowed icon.
Final thoughts
iTALC is an incredibly powerful tool that can be used by teachers of all kinds. Take advantage of this tool in your classroom to make your job much easier.
Advertisement


hi, we like use it in our labs and litemanager as alternative for remote classroom management too, another free tools, connect id, etc.
Hi,
This is what I get from several source about running iTalc in Vista/7.
http://www.edugeek.net/forums/network-classroom-management/9570-italc-compatibility-windows-vista.html
—-
This setup is for Windows Vista Clients ONLY! I have no idea if it will work with VISTA as a Master. I use Windows XP as the Master in my setup.
There is not an easy install for Vista Clients (yet anyway). You will have to visit each system (be sure to write down host names as you go, it will make things much easier).
Let’s get started.
This guide assumes that you have successfully setup a Master PC. This guide also assumes that your setup files reside on USB Drive F:\iTalc and that your public key also resides on USB Drive F:\iTalc
1.) Log into Vista PC with admin rights.
1b.) Disable Vista Aero Theme (if applicable)
2.) Insert USB Drive into Vista PC Navigate to your F:\iTalc
3.) Set Setup.exe to Windows XP SP2 Compatibility Mode
4.) Run Setup.exe and when prompted, choose F:\iTalc for the location of your Public key.
5.) After Setup has completed, open Task Manager and stop the ica.exe process.
6.) Run services.msc and stop the iTalc service. Also set the service to only run manually.
7.) Goto your local iTalc install folder (C:\Program Files\iTalc) and set ica.exe to Windows XP SP2 Compatibility Mode.
8.) Create a Shortcut to ica.exe and copy/move it to your Startup Folder.
9.) Run ica.exe
This completes the Vista Workstation install. You can now add the system from the Master interface using the hostname. Below are some issues I have noticed with this setup.
Issues:
1.) If more than one user is logged into a machine, iTalc will not work.
2.) The client system cannot be accessed unless a user is logged in (also remote login does not work as the ica.exe is not running until a user logs in).
3.) The master does not recognize when a Vista System is in screen saver mode (shows last desktop prior to screensaver, it does come back once the system wakes up).
4.) The thumbnail screen will flash between a black screen and the actual desktop 4-5 times before finally connecting. This is only on the initial start of the master/client program.
All in all, it is highly functional. There are some nice features that I miss (remote login/logoff being the primary) but you cannot beat free.
—
I have installed ITALC master on a ubuntu machine, then how can I create the key for windows client ?
@jack: “Support for Vista and 7 are in the works I believe.”
Yeah you could put it that way i suppose, lol.
If you look on their site, requests for Win7/Vista support keep coming but development has stood still for over a year now.
And if you think all those commands in linux are difficult, try silently deploying
iTalc in a network of Windows (especialy windows 7) computers.
Oh well, a few more gray hairs, but we did get it to work in our school.
@Leandro: That is correct. iTALC currently only supports Windows XP and 2000. Support for Vista and 7 are in the works I believe.
italc works fine with windows xp, but doesn’t work well with windows vista..
i didn’t test with windows 7 yet