Is your Wi-Fi not working on macOS Sonoma? Here is what you can do

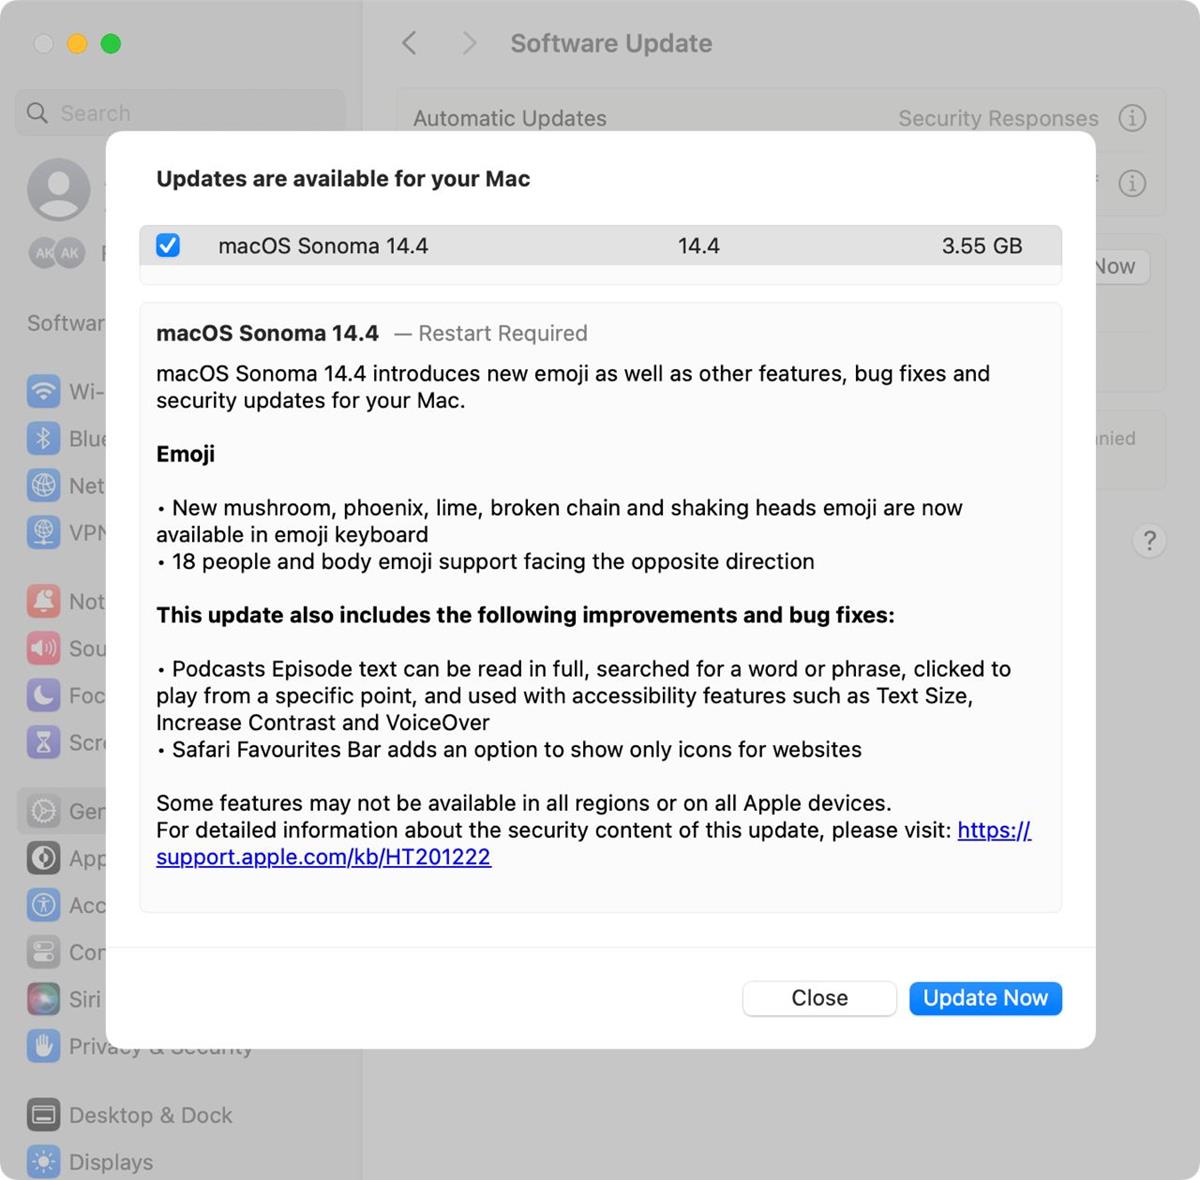
While macOS Sonoma has been released to great fanfare, many users are reporting issues with their Wi-Fi not working on macOS Sonoma.
Wi-Fi has become an integral part of our daily lives, from checking into hotels to working in a new office or visiting friends. It's the bridge that connects our devices to the digital world. When Wi-Fi on macOS Sonoma starts acting up, it can be a major inconvenience.
If your Wi-Fi is not working on macOS Sonoma too, don't worry, there are some things you can do.
Why is Wi-Fi not working on macOS Sonoma?
The first step in resolving Wi-Fi not working on macOS Sonoma issue is identifying the problem's scope and impact. Is it affecting a specific application, your Mac, or all connected devices? Is your Wi-Fi slow or completely non-functional?
Identifying the issue's nature helps you pinpoint the solution.
- Restart the application
- Begin with the simplest fix: Restart the affected application. For web browsers, consider clearing the cache from the privacy and security settings if necessary
- Reboot Your mac
- If the problem extends beyond a single application or if restarting it doesn't work, reboot your Mac. This clears temporary files and addresses potential boot disk issues (on Apple silicon Macs)
- Check other devices
- Determine whether the Wi-Fi issue is exclusive to your Mac or if it affects other devices on the network. If multiple devices are impacted, focus on the Wi-Fi router and broadband connection

How to fix macOS Sonoma Wi-Fi issues
After narrowing down the problem's scope, let's focus on resolving Wi-Fi problems specific to your Mac.
Things you may try to fix the Wi-Fi not working on macOS Sonoma issue are as follows:
- Restart your router
- Flush the DNS cache
- Change DNS server
- Renew DHCP lease
- Delete and reconnect to Wi-Fi network
- Turn off the firewall
- Clear out old Wi-Fi networks
- Run wireless diagnostics
How to restart your router
- Unplug your router from the power outlet
- Wait for at least 30 seconds
- Plug your router back into the power outlet
- Wait for your router to restart. This may take a few minutes
Once your router has restarted, try connecting to it again and see if that did the trick to fix the Wi-Fi not working on macOS Sonoma problem.
How to flush the DNS cache in macOS Sonoma
- Open a Terminal window
- Type the following command:
- sudo dscacheutil -flushcache
- Press Enter and type your password when prompted
Your DNS cache will now be flushed and doing so will potentially fix the network issues on your macOS Sonoma.

How to change the DNS server in macOS Sonoma
- Click the Apple menu and select System Preferences
- Click Network
- Select your Wi-Fi network in the list of connections
- Click the Advanced button
- Click the DNS tab
- Click the + button and enter the IP addresses of your new DNS servers. You may choose one the DNS services below:
- Google Public DNS (8.8.8.8, 8.8.4.4)
- Cloudflare DNS (1.1.1.1, 1.0.0.1)
- Quad9 (9.9.9.9, 149.112.112.112)
- OpenDNS (208.67.222.222, 208.67.220.220)
- CleanBrowsing (185.228.168.9, 185.228.169.9)
Click OK to save your changes. You will connect to the internet via a new DNS now and if the DNS was the problem in your case of MacOS Sonoma Wi-Fi not working issue, this might be the fix you were looking for.
How to renew the DHCP lease in macOS Sonoma
- Open a Terminal window
- Type the following command:
- sudo ipconfig renew
- Press Enter and type your password when prompted
Your DHCP lease will now be renewed. Try connecting to a site to see if you got your internet back on and running on macOS Sonoma.
How to delete and reconnect to a Wi-Fi network in macOS Sonoma
- Click the Apple menu and select System Preferences
- Click Network
- Select your Wi-Fi network in the list of connections
- Click the - button to remove the network
- Click the + button and select Wi-Fi from the list of connection types
- Enter the name of your Wi-Fi network and the password when prompted
- Click Create
Once you have done that try opening a site to confirm that your problem has been solved. If not, proceed to the next step.

How to turn off the firewall in macOS Sonoma
- Click the Apple menu and select System Preferences
- Click Security & Privacy
- Click the Firewall tab
- Click the lock icon in the bottom corner of the window and enter your password when prompted
- Uncheck the box next to Turn on firewall
Click the lock icon again to save your changes and see if that did the trick to fix the Wi-Fi not working on macOS Sonoma problem or not.
How to clear out old Wi-Fi networks in macOS Sonoma
- Open a Terminal window
- Type the following command:
- sudo rm /Library/Preferences/SystemConfiguration/NetworkInterfaces.plist
- Press Enter and type your password when prompted
- Your Wi-Fi networks will now be cleared
Note: Some of these steps mentioned in the article may require you to have administrator privileges on your Mac.
Advertisement


