Create Hardware Profiles
When I was only using my desktop computer I was a little bit puzzled why I would need Hardware Profiles at all. It did not make much sense to disable hardware that was properly installed on my computer. Now, that I own a notebook for some time I understand why this can make sense under certain circumstances.
I'm using hardware profiles mainly to disable hardware that I do not need when I'm on the road. This ensures that all hardware that is not needed to run the notebook is disabled which saves power. Another possibility would be to disable hardware for security reasons. You could disable WLAN for instance when on the road to avoid that someone tries to hack into your notebook while you are working in a coffee shop, Internet cafe or other public location.
The downside in my opinion is that you have to select a hardware profile when Windows starts which adds to the loading time. You also have to be there to select the right profile unless you let it select the default profile after some seconds.
Hardware Profiles can be easily created by pressing Windows Pause, clicking on Hardware and there on the Hardware Profiles button. Copy the default profile and name it accordingly. I suggest a descriptive name so that you know what this hardware profile does.
Update: Microsoft removed the option to create hardware profiles in newer versions of Window (starting with Windows Vista). What you can do alternatively is to set up multiple user accounts configure devices accordingly, and load these accounts whenever you need a specific set of devices.
Once that is done click on the new profile and select Properties. Now check Always include this profile as an option when Windows starts. Restart your computer and select the newly created hardware profile when asked which one you want to use.
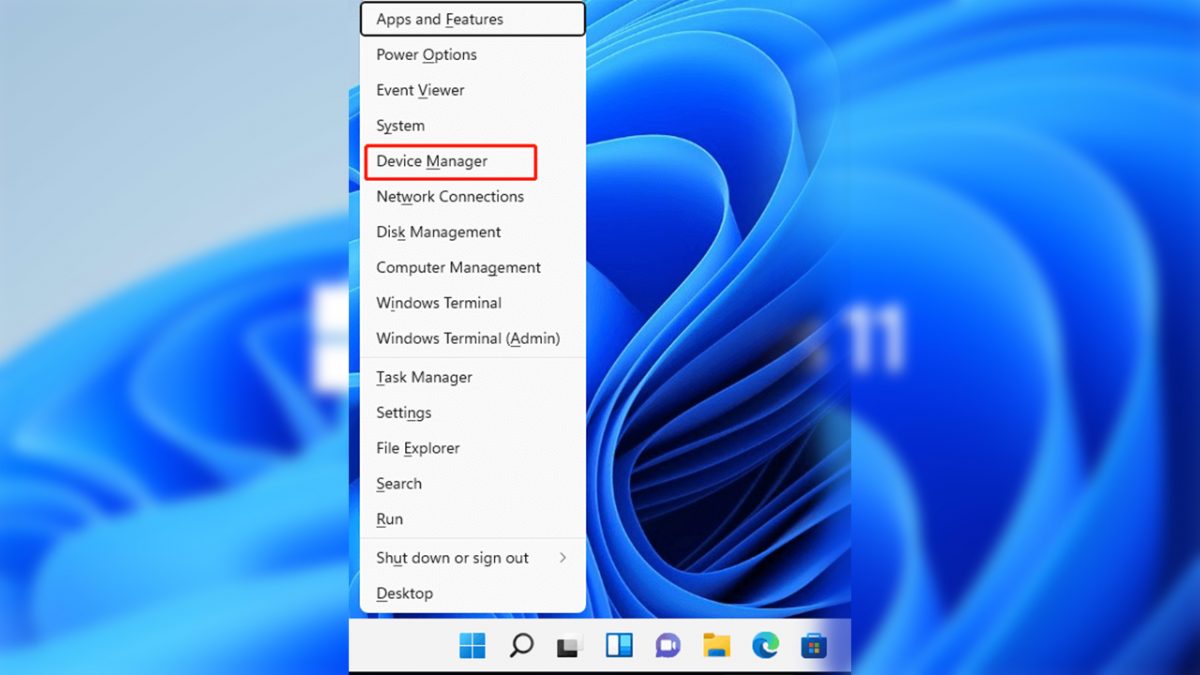
Hit Windows Pause again and click on the Device Manager button in System Properties. Right-click any device that you want to disable and select Properties from the menu. Select Do not use this device in the Device usage pulldown menu to disable the device in this hardware profile.
It is furthermore possible to disable certain services in each hardware profile. Press Windows R, write services.msc and hit enter to load the Services control panel.
Right-click a service and select properties from the menu. Now click on the Log On tab, select the hardware profile and click on disable to disable that service for that hardware profile.


Dear i am unable to configure hardware profile in windows 7,
so please send me any link about it,
Thank you
Regards
Sajid Ali