Try changing HPET settings to improve your PC's performance

The High Precision Event Timer (HPET) is a hardware timer that has been developed by Intel and Microsoft. HPET has been used in PC chipsets for nearly a decade at the time of writing.
Different timers may be used depending on which operating system you have installed on your PC, and tweaking the timers may improve the overall performance of your PC as a result. This is mostly useful for gaming related activities and other real-time activities that benefit from additional resources.
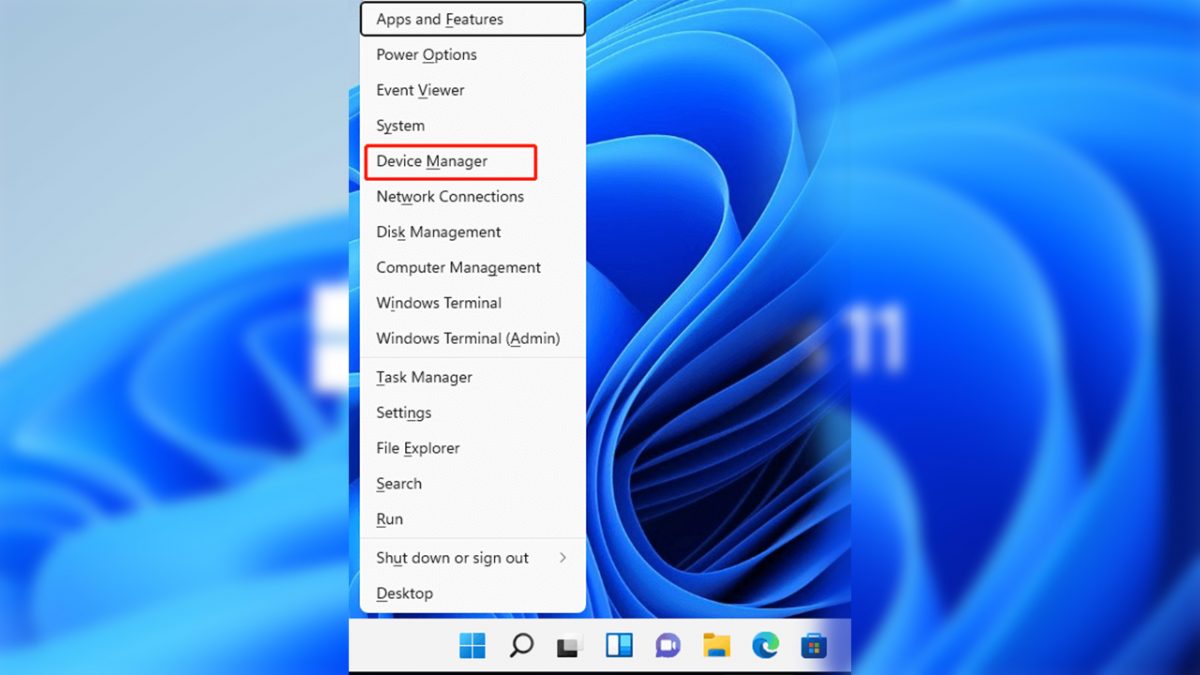
The first thing that you need to find out is if HPET is supported by a computer system. You need to go into the BIOS or UEFI setup during boot to find out.
Since there are that many different versions out there it is hard to say where you will find the setting on your system. I found the setting under Advanced Mode > Advanced > PCH Configuration > High Precision Timer but you may find it in a different location. The PC should display information on how to enter the BIOS on start; common keys to press to enter the BIOS include ESC, F1, or DEL.
Enabling or disabling the timer in BIOS is only one part of the change that you have to make though. Windows may use different timers as said earlier even if the HPET timer is enabled in the BIOS.
You need to run the following commands on the command line in Windows to enable or disable the exclusive use of the HPET timer.
Note: We recommend that you create a backup of the operating system before you make these changes.
- Tap on the Windows-key, enter cmd, right-click cmd.exe in the results listing and select to run the command prompt with administrative privileges.
- To enable HPET as the only timer run the command bcdedit /set useplatformclock true
- To disable HPET in Windows run the command bcdedit /deletevalue useplatformclock
There are a couple of tests that you can run to see if the performance is better when the timer is enabled or disabled on your system. While you can check that by playing games or other applications as well, it is usually a good idea to run the following two programs as they provide hard data.

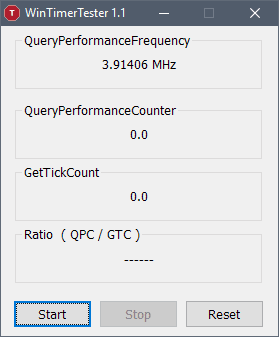
WinTimerTest is a lightweight portable program that displays timer related information to you. You should get a value of around 14.3 MHz if HPET is enabled, and less than that, usually 3.9 MHz if it is disabled. You can download it with a click on the following link: (Download Removed)
DPC Latency Checker is the second program that tests how the computer handles real-time data streams.
I suggest you run both programs before you make any change to your system, and then again after you have made changes. Not everyone is noticing improvements after enabling HPET in both the BIOS / UEFI and the Windows operating system. Some notice slow downs and others that micro-stutters go away after disabling the timer on their system. So, it is definitely a good idea to test all possible settings to see if one makes a difference for you if you noticed issues in first hand or improve the performance of the system.
Note that updating drivers and Windows itself may improve the use of the timers as well.


I may just add that when its showing 10mhz its a indicator that HPET is already disabled in your system if you are using windows 11.
What you should look for is how long it takes for the ratios to equalize to 1.000 and or 9.999, 1.001 etc.
The longer it takes the worse the performance is.
is this information still relevant? It doesn’t seem to make a lot of sense. I guess this program WinTimerTester is supposed to be common sense usage, but I don’t see how I’m supposed to read the info coming from it.
When I start the program it just stays “QueryPerformanceFrequency = 10 MHz”
Pressing the start button just causes the other counters to start incrementing, but there’s no description of what these values mean to me.
The value of QueryPerformanceFrequency does not change if I disable the High Precision Timer, it stays at 10 MHz.
Maybe this software is outdated?
Can confirm the post by laurent above. My Ryzen 5900x Passmark CPU score was very low relatively (~35.000). Especially Floating point performance was half of what it is capable of.
I have a ASUS B550 motherboard and uninstalling AI Suite 3 and executing ‘bcdedit /deletevalue useplatformclock’ did the trick! I now have a much better CPU mark of 42.000.
thank you very much it solved a problem i had on my system for month (apparently asus ai suite enable the option) and some games were lagging (gears 5 for example) , disabling hpet solved it , don’t forget to restart computer after disabling it :)
my win timer test is showing 10.000mhz after disabling on windows 10. and 1ms instead of .50
HPET was driving me insane, it was enabled by default and it would cause the audio to stutter, which also caused youtube to become out of sync.
Just disabled it and the issue went away
My frequence went from 14 to 10… certainly not 3-4 as suggested here :/
2990wx and zenith extreme board, any ideas? or is that normal for 2990wx?
yes it’s normal, you use windows 10 1809 ? then microsoft change the timer there, it should be always 10 mhz when not using HPET .
you can test it with TimerBench 1.3.3
When I try to disable it through cmd, I get the message, “An error occurred while attempting to delete the specified data element. Element not found.” Can someone please help?
That means you already have it disabled by default. I had the same message when going through the Ryzen tweaks and asked the question myself.
for me there’s barely any difference in latency or performance between hpet on and off except this: https://s19.postimg.org/nv23mw32r/hpet.jpg
What was the first program? Says download not found.
The almighty Internet Archive has backed up such download link, here it is:
https://web.archive.org/web/20150926101511/https://www.ghacks.net/wp-content/uploads/downloads/2013/04/WinTimerTester_1.1.zip
useplatformclock [ yes | no ]
Forces the use of the platform clock as the system’s performance counter.
*Note This option should only be used for debugging.
How can it improve perf. if it enables debugging ?
http://msdn.microsoft.com/en-us/library/windows/hardware/ff542202(v=vs.85).aspx
It may also help to maximize the NT timer resolution, which can help lower your DPC latency and make certain programs much more responsive. There are two programs I know of that can do this:
Timer Resolution: http://www.lucashale.com/timer-resolution/
Fidelizer: http://www.windowsxlive.net/fidelizer/
I use my PC as DAW, (Digital Audio Workstation) running Ableton Live 9 and other audio production software so I am hoping this technique will avail some extra power.
As soon as I have tried I will post a response.
Thanks for sharing the knowledge. =)
What sort of improvement could you expect to get? Is it noticeable or simply notional much of the time? I understand that this will vary widely based on hardware, but I’d be interested in hearing the results from other users and if it tends to make a significant difference.
John, that is understandable. Some users reported more fps and better response times in games, while others claimed that turning it off removed micro-stutters in games. You can’t really break anything by enabling or disabling the setting, as you can always go back to the default setting in the end.
If you are experiencing issues while playing games or doing real-time activities, then it may make sense to try the tweak. If everything is golden and all you can hope for are a couple fps more (which you may not even notice) then it is not really something that I would start to test as the gain is not worth it.
+1 for the AMD query. Is this an intel only exercise?
Does this work on AMD systems?
Yes it works on AMD systems as well.
Martin, you missed the point. Look at the total command lines you posted. They are identical. Both say delete.
Sorry you are right, the command to enable is bcdedit /set useplatformclock true
Should the commands be:
[To enable:] bcdedit /set useplatformclock true
[To disable:] bcdedit /deletevalue useplatformclock
and reboot.
The commands start with bcdedit
So why are the cmd commands exactly the same?