Backup your data with Drive Image XML
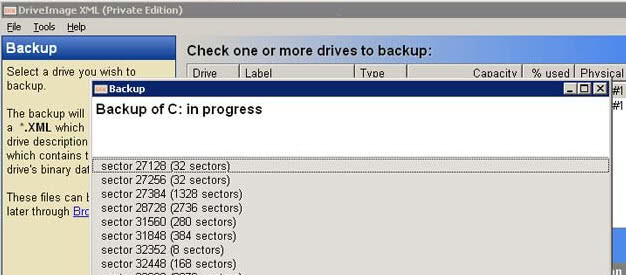
Chris asked me yesterday if I knew of a good freeware backup program for Windows and I answered that Syncback would be such a tool that I would recommend for that purpose. I discovered another one and thought it would be nice to share this one with you all as well.
The backup tool is called Drive Image XML, it is completely freeware and runs under Windows XP and Windows 2003 server only (Update: compatible with all newer versions of Windows as well) . If you are running a different version of windows use Syncback.
Drive Image XML lets you backup logical drives and partitions to image files, browse the created images and restore files from them, restore images of course and make direct drive to drive copies. It is possible to schedule tasks using the Windows task scheduler, and Drive Image will walk you through those steps as well making it super easy to create regular backups using the feature.
It also lets you create images from drives that are currently in use - I would not advise to backup a drive or partition while you are working on it though. You will be able to restore drives without rebooting which is a nice feature. Last but not least it works with Fat 12, 16, 32 and NTFS file systems and can be run from a WinPE boot disk.
DriveImage XML is available as a private edition that can be used for non-commercial purposes, and a commercial edition that companies and organizations need to purchase if they want to use the software.
The core features of the program are the following:
- Backup logical drives and partitions
- Browse images, view and extract individual files
- Restore images to the same or a different drive
- Copy directly from drive to drive
- Schedule automatic backups
- Run Drive Image from CD
The program has been updated regularly in recent time, and is compatible with 32-bit and 64-bit editions of the Windows operating system.
Creating a backup
Let me walk you through the steps of creating a backup with the application.
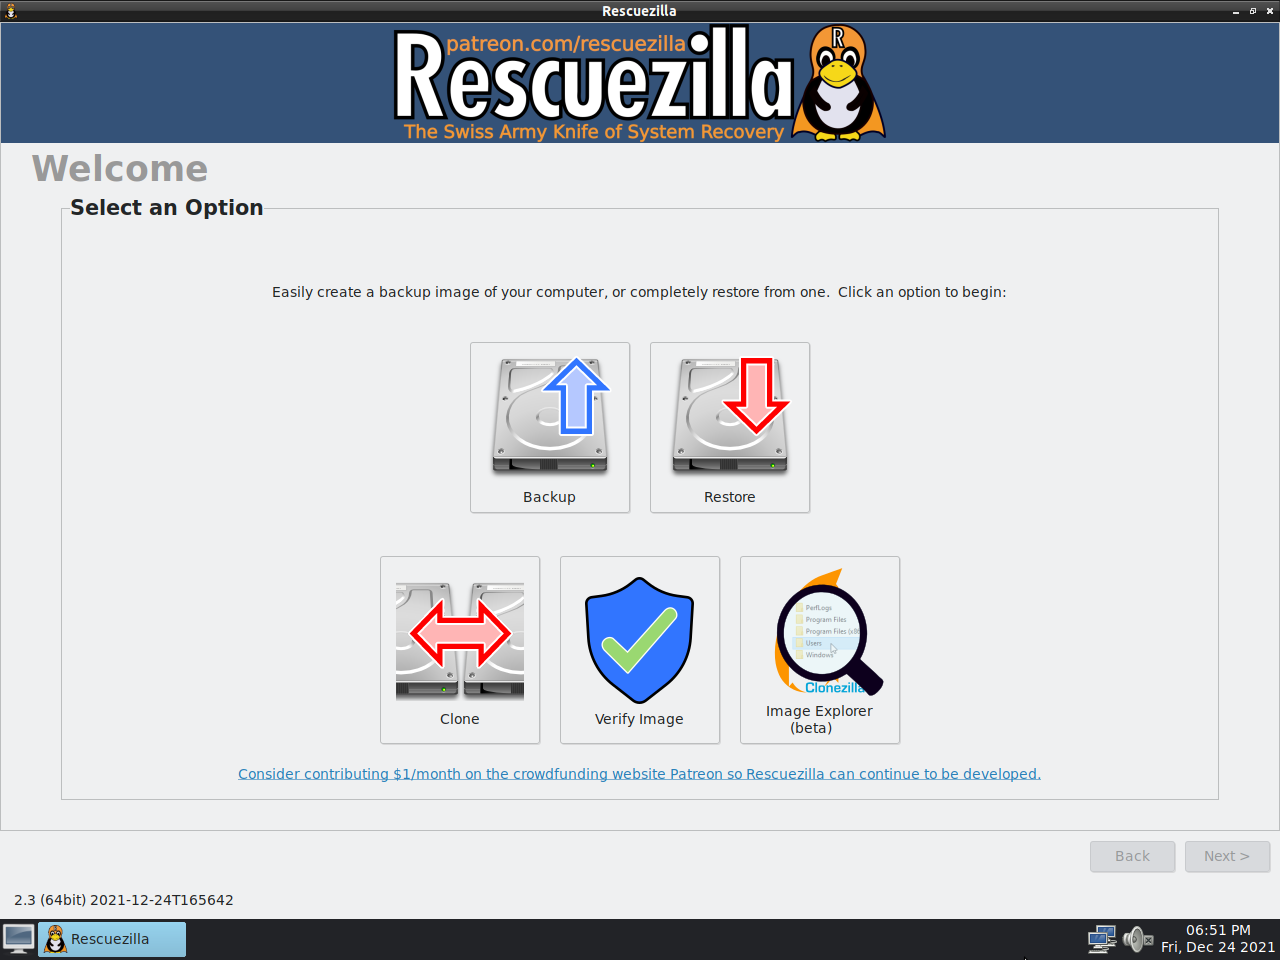
- Select backup from the sidebar or welcome screen to get started.
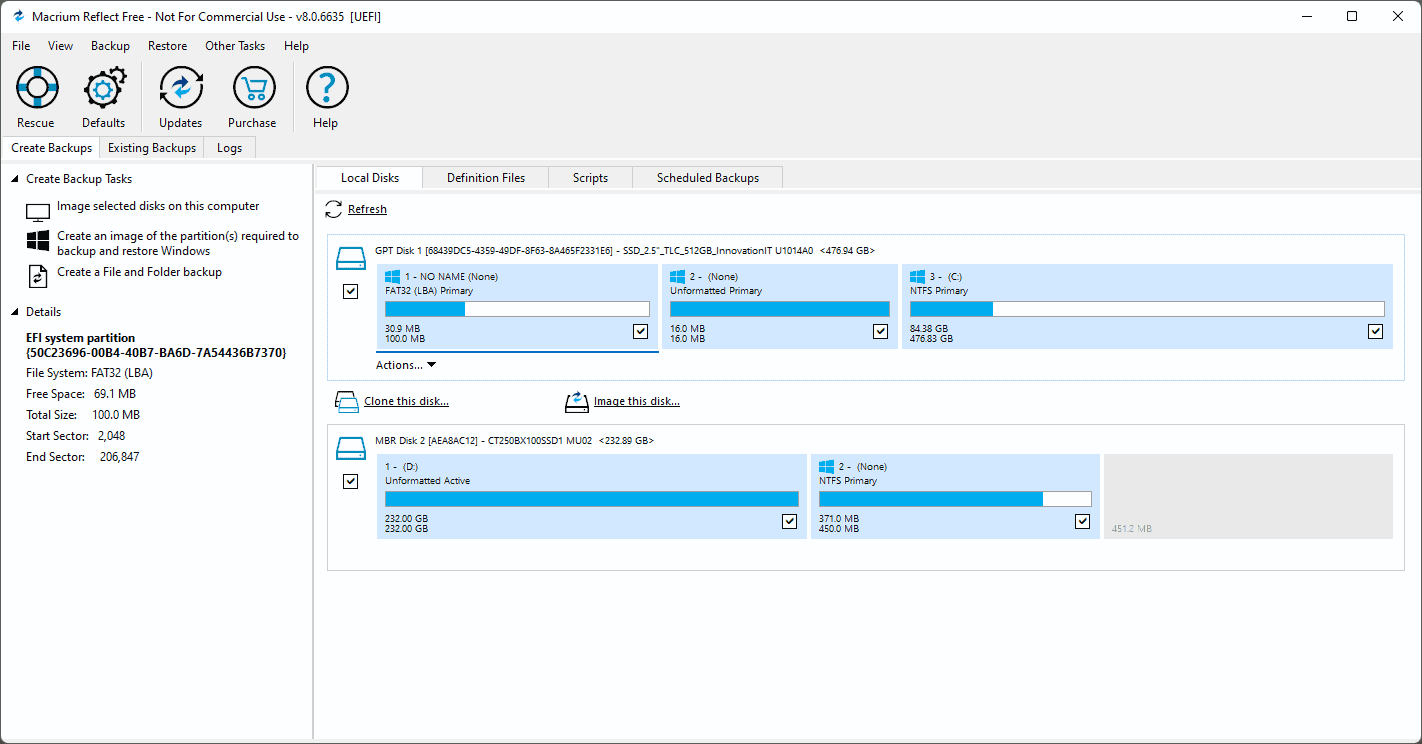
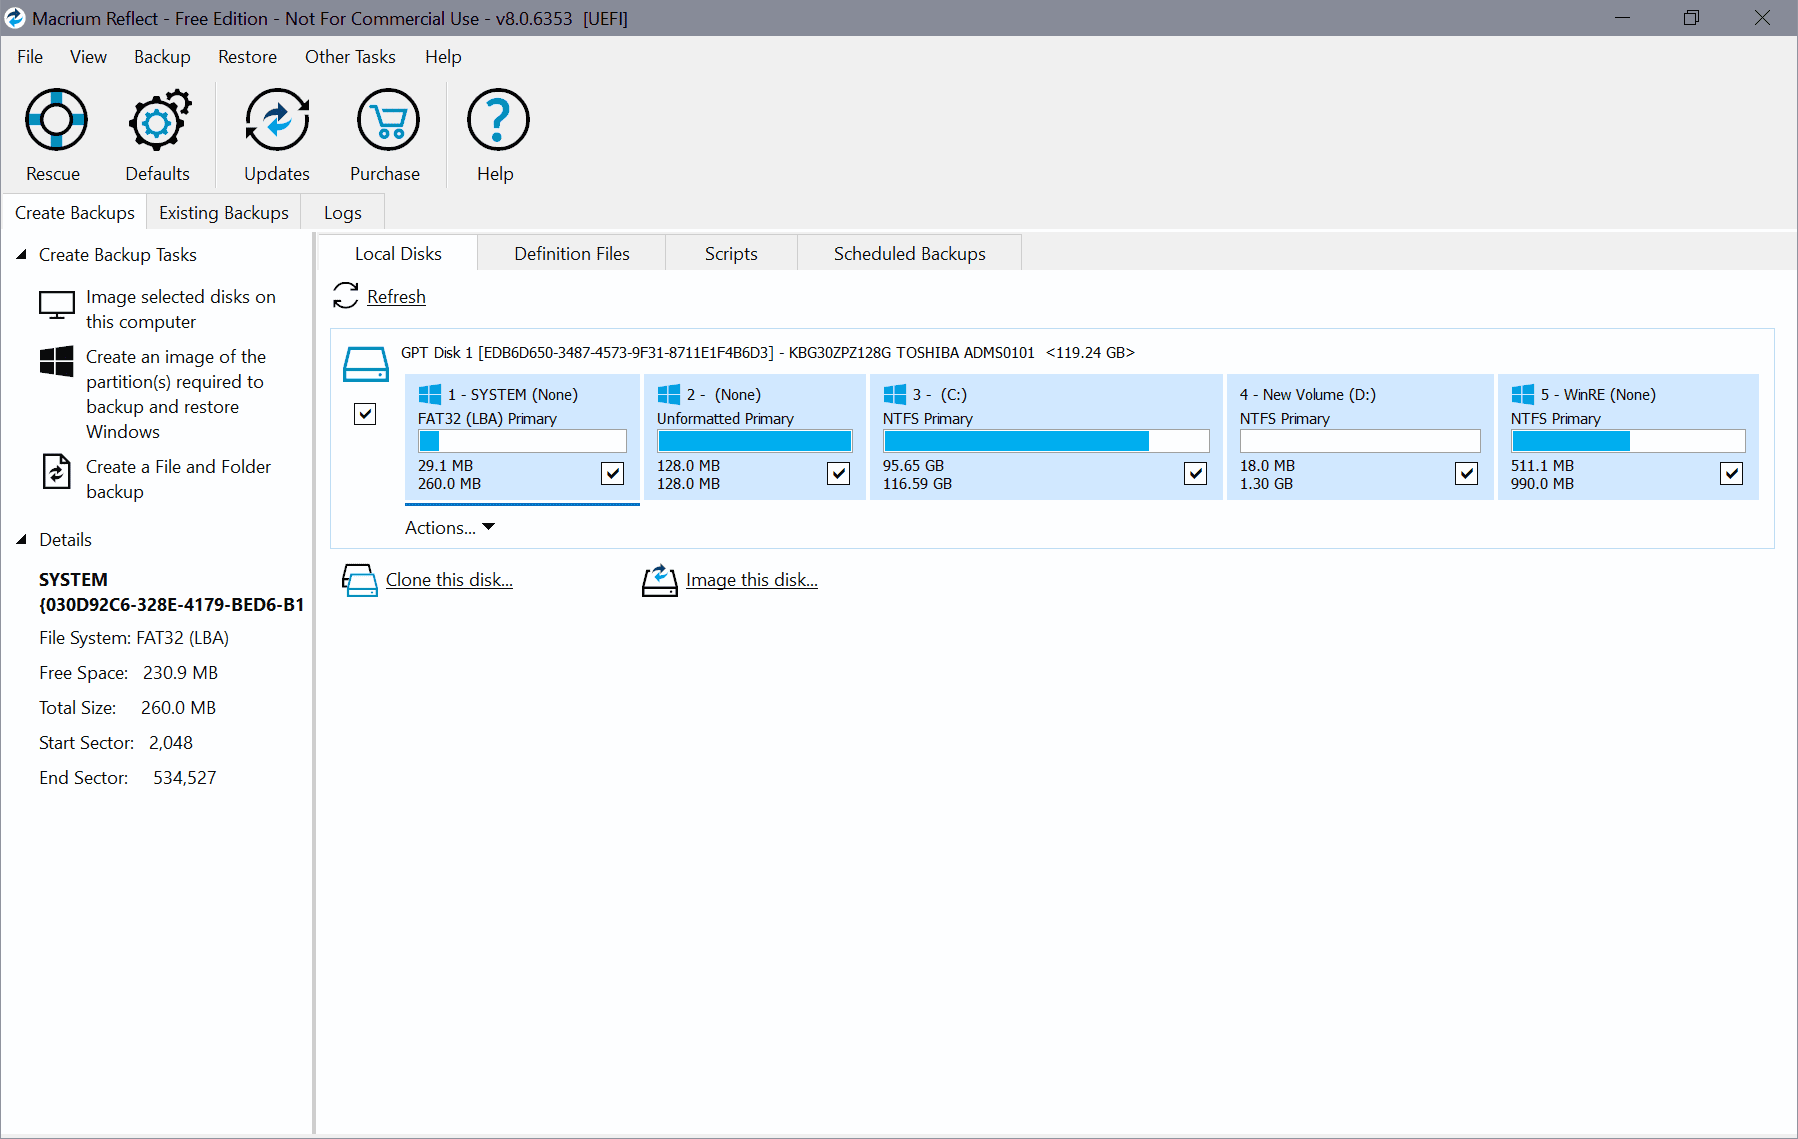
- Select one or multiple drives that you want backed up. The backup software displays information about the drive, e.g. its used bytes and total size.
- Click on the next button afterwards. This triggers a new backup window displaying your selection again.
- Click next on the first screen.
- You are then asked to select a location that you want the backup to be stored in. Here you can also set compression options, file splitting and the hot imaging strategy of your choosing (volume locking or volume shadow service).
- The backup is then started and depending on the size of the selected drive and the speed of the drives, it may take a while to complete.
DriveImage XML Tips
- You can enable logging with a click on Tools > Options. This can be useful in making sure that backups processed just fine.
- The drive to drive backup feature is separate from the regular backup tool.
- You can browse previously created backup images right from within the program. This can be useful to extract select files or even directories to the system without restoring the full backup.












Thanks man!!!excelent!!