Add Thumbnails To Your WordPress Blog
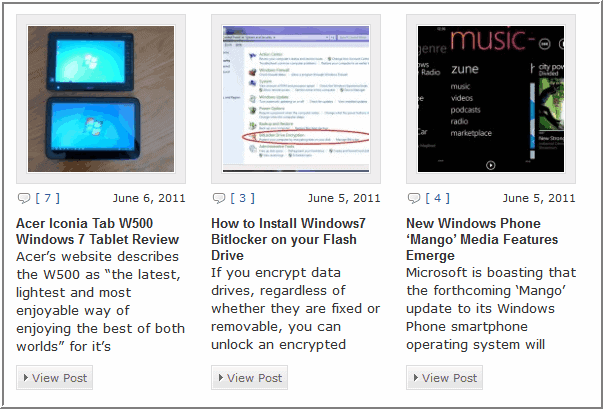
Blogging with WordPress is an easy, quick way to get your posts to viewers without sitting down and coding an entire website by yourself. However, there are certain aspects of the platform that cause some users pause.
For example, many posts benefit from a nice, clean thumbnail seated just to the left of the title of your posts. These images break up otherwise monotonous, similar posts into individual units with their own appearance and characteristics.
They can make the difference between an unattractive blog blanketed in text and an interesting web magazine with illustrations.
To implement these thumbnails you need to tell WordPress to look for the specific images you want and then to add them itself.
While many themes support thumbnail images by default, some do not or not in the way you want them to appear.
You can do this by creating a field in each post called customimage which, when found, will tell WordPress to make the image appear.
On the off chance that you do not add the customimage field to a particular post, you want WordPress to instead display a default image.
To begin, select an image that you would like posts to display by default. This could be your face, your dog, a speeding car – really, it's completely up to you.
Open the image in your favorite editor (Gimp, Paint.net or any other image editor that you may have at your disposal) and set it to whatever pixel dimensions you prefer. Be mindful that regardless of how long your blog title is, your photo will always be the same size. Somewhere between 150 by 150 and 250 by 250 pixels is probably a safe bet, and square boxes are easier to place various images in later, as opposed to rectangular ones. Once you have a nice image name it something you can remember (standard.gif, default.gif, etc.).
Next, upload the default image into your theme's image directory. This makes it available to all pages of your site and any post missing the customimage field.
Now for the important part: post the following code into the index.php file of your WordPress wherever you would like the thumbnails to appear:
<?php $postimageurl = get_post_meta($post->ID, 'customimage', true);
if ($postimageurl) {
?>
<a href="<?php the_permalink(); ?>" rel="bookmark"><img src="<?php echo $postimageurl; ?>" alt="Post Pic" width="200" height="200" /></a>
<?php } else { ?>
<a href="<?php the_permalink(); ?>" rel="bookmark"><img src="<?php bloginfo('template_url'); ?>/images/yourwebsite.gif" alt="Screenshot" width="200" height="200" /></a>
After you are finished copying over the code and pasting it in index.php, save the file. Your posts will now place whatever image you chose as your default (customimage) earlier beside each entry. That's good, but you really want to be able to change that image – the point of this entire exercise is to make each post different.
All that you need to do is create a custom field with each entry called customimage (not in italics, of course). Change the value each time to the URL of whatever image you would like to display beside the particular post and you will be set to go. Enjoy having a unique thumbnail beside each post, unless you allow it to fall to the default.
Images clearly make for a more attractive blog post for the majority of readers. Are you one of those? Photos attract, so make sure that you blog is attractive and attracting.
Update from Martin:
You do not necessarily have to paste the code into index.php. You can alternatively paste it into single.php for individual posts, category.php for categories or tags.php for tags.
If you are not familiar with web development you may want to select a theme that supports post thumbnails out of the box. There are even some that take the first image of each post automatically and use it as the post thumbnail provided that you have not added a thumbnail image of your own to the post.
You also need to consider that images will increase the loading time of the site. If you have a slow loading site, it is probably best not to add more images to the blog, or at least not before you started to optimize the blog code for speed.
Advertisement






We can also use Hungred Post thumbnails plugin to display thumbnails for post. we can also customize its size.
nice tutorial
but I need to know, how to add google +1 button like gHacks blog? :)
You can get the button code here: http://code.google.com/apis/+1button/
You don’t do it like this anymore. WordPress has “featured images” built in now. This code is years old and bad practice.