Don't search, do - with GNOME Do

Recently I wrote an an article covering the Easystroke mouse gesture tool ("Start applications using mouse gestures with Easystroke".) That article explained how easily you can set up a simple mouse gesture to start an application.
In the comments one reader brought up the handy GNOME desktop tool GNOME Do. GNOME Do is one of those tools that, upon using it, you will slap your forehead and exclaim "Why didn't somebody tell me about this before?" You will say that because your fingers will be left, happily, to their devices free from the shackles of the mouse. From the GNOME Do interface, you can do almost anything: From searching for files to launching applications. If it is on your machine it can be acted upon.
And the best thing is that GNOME Do is just as easy to use as it is to install. And in this tutorial you will learn just that: Installing and using GNOME Do.
Installation
Installing GNOME Do is simple:
- Open up your Add/Remove Software application.
- Search for "gnome do" (no quotes).
- Mark the selection for installation.
- Click Apply.
That's it. After the installation is complete you will find GNOME Do in the Accessories sub-menu of the Applications menu.
Configuring GNOME Do
One of the first things you will want to do (outside of just randomly attempting things with GNOME Do) is to configure GNOME Do. When you start up GNOME Do you will be surprised to see nothing happened. Before you think something is wrong, take a look at your Notification Area. You should see the GNOME Do icon (see Figure 1).

The GNOME Do icon (in the example above) is the first icon to the left edge of the Notification area (Directly to the right of the vertical double dotted lines). You can open GNOME Do by either single clicking that icon or by clicking the default key combination for opening GNOME Do. The default combination is <Super>Space Bar. If you're not sure what the "Super" key is - it's the Windows key on most keyboards.

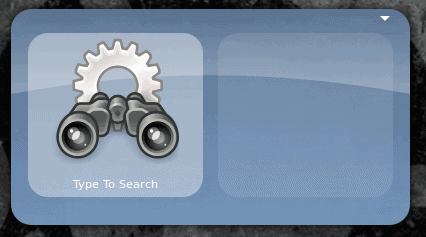
When you open up GNOME Do a simple window will appear in the center of your screen (see Figure 2). From that window you will want to click the small drop down in the upper right corner to open up the GNOME Do menu. From this menu select Preferences.
When the Preferences window opens there are three things you should take care of:
- From the General tab select "Start GNOME Do at login".
- From the Keyboard tab configure the shortcut you want to use to call up the application.
- From the Plugins tab add any plugins you might want included in your GNOME Do setup. You will definitely want to enable the Files and Folders plugin as well as the Locate plugin.
How to use GNOME Do
Using GNOME Do is simple, once you get the hang of it. Here's how it works.
- Enter the key combination to bring up the GNOME Do window.
- Type the text for whatever it is you want to start or find.
- When the item you are searching for is found, hit the Enter key.
Let's examine how to find a document on your machine and then open it with OpenOffice. The document will be called ghacks.png. To find and open this file follow these steps:
-

Figure 3 Open up GNOME Do by hitting <Super>Space.
- Type "locate" (no quotes).
- Hit the Tab button.
- Type "ghacks.png".
- Hit Enter.
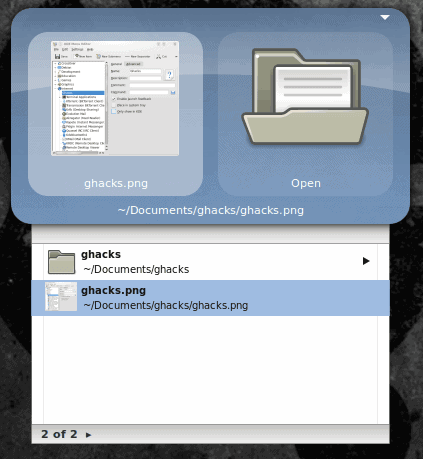
- When the new GNOME Do window opens, click the down arrow on your keyboard until you see the specific file name and click Enter (see Figure 3).
The file will open in the default application for that file type.
Final thoughts
Of course there is so much more you can do with GNOME Do. In upcoming article we will talk about using GNOME Do with Twitter, Web Browsers, Google, and more.


@guy: What language? You mean English? Or are you talking about the programming language it was written with?
The only bad thing about it is that its implemented in a shitty language :(