How to create your own blog with domain Part 2
Welcome to the second part of the how to create your own blog with domain series. I would like to add some information about what I have mentioned in the first part of this series. Hosting is essential of course but you should not be to afraid to make errors. I switched hosts three times before I found the one that offered me everything that I was looking for. The others decided to disable my website at a certain point because it was causing to much load and traffic on their network.
I forgot to mention another great way of finding a good web host: Ask your friends. If you know friends that already have a website with domain ask them where theirs is hosted. This is probably the best way to begin searching for a new host. Ordering a package from a web host should not take more than one or two days. They probably send you information per email which you need to access the ftp and administrative area of the website.
Setting up WordPress is not really a problem.The majority of hosters nowadays offer some sort of control panel where you can install WordPress with a couple of clicks. You can however also download and install it manually.
Just download the newest build from the official website and unpack it to your hard drive. You do need a ftp client such as filezilla to upload the files to your ftp. Before you do that you have to edit one file that is called wp-config-sample.php. Open that file in a text editor.
Line 3 to 6 define the database information which you should add. WordPress uses a MySQL database to store the articles, comments and other information.The company that hosts your website should have sent you that information. It is important that you only edit the strings WordPress, username, database and probably localhost. Everything else remains as is. Save the file as wp-config.php and upload everything to your webspace.
Take a look at wordpress.org for further details on the WordPress installation, they have everything covered. It takes about 5 minutes to install WordPress. After that is done you can write the first article or customize WordPress by adding themes and plugins.
Congratulations at this moment your blog can be visited by everyone who knows the url. Search Engines will pick up the new website pretty fast, I add some tips about that in the final part of this series.
I started with a WordPress template that I downloaded from the wordpress theme viewer which offers a collection of many WordPress themes. Please note that all those themes that you can download there are not unique to your website unless you customize them by changing css files for instance or the layout of the theme files.
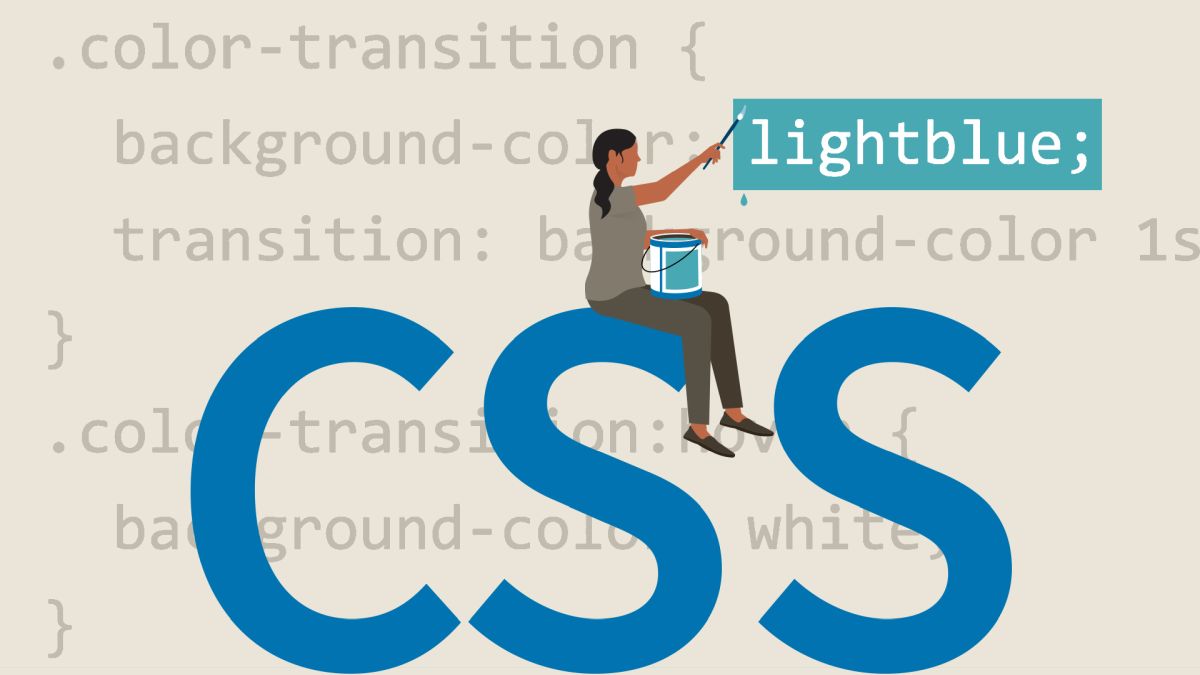
I do not recommend this if you are not that versed in php. It is however quite easy to edit the css file which holds information such as font sizes and colors. If you want to edit the theme search the web and wordpress.org for information, you will probably find what you are looking for.
Advertisement


superb post, martin.i am looking for the final part