How to Make a Flow Chart in Word?

To make a flowchart in Word, use SmartArt for a quick, automatic layout or the Shapes tool for a fully customized, manual design. Go to Insert > SmartArt > Process to choose a template and add text, or use Insert > Shapes to draw individual nodes and connect them with arrows for more flexibility.
You then use the plus-shaped cursor to position and choose the size of the shape. It will be apparent how it looks once you let go of the mouse button. You can alter the position by left clicking the shape and moving it.
There are numerous options for linking the shapes on the flow chart. In this demonstration, an arrow will be used. You want to get the basic design established before concerning yourself with graphic effects.
Here is where you can choose the arrow. You can create a new shape to link the arrow to or you can copy the shape you started with. Here the shape is copied.

Just copy and paste and drag the shape to the desired position. Familiarize yourself with the different shapes and position adjustments. All you have to do is select shapes, size and position them, copy them if needed and link them together. Take 20 minutes or so and just play around until you feel comfortable with it. Now it is time to start adding text. Right click a given box and select Add Text then start typing. Adjust the font if necessary.

When the chart is outlined and the text is added, you can begin working with some graphic effects to make the flowchart attractive. Go to the format tab on the Ribbon. Word 2010 users only need to select a shape to automatically get the Format tab in their software.

Click on the shape in the flowchart and then select a color from the Format color chart, click on the color and the shape takes on that color.
Shadow and 3D effects can be added. From the Format tab on the Ribbon, find the 3D effects and click on a shape then click on “3D effects†and select effects from the dropdown menu. Click on the effect and the shape takes on that effect.
Use the Format tab to add shadow effects and change shapes and other effects. You can also use Smart Art. These are pre-designed graphic layouts that allow you to insert professional looking content without being a graphic designer. Select Smart Art from the Insert tab on the Ribbon and pick a design.

Here is what you can come up with after entering the text and changing the colors on the template design.
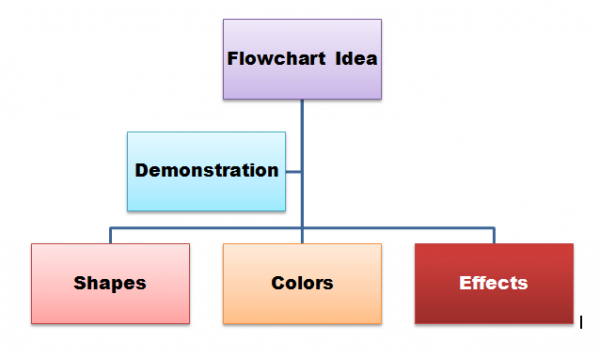
There is much more that you can do. This gives a basic idea of the procedure for those with no experience making flowcharts in Microsoft Word. You will be a pro in no time.

How do you get a lot of heirarch in your tree diagrams on the page all at once and not let the page look crowded or “demented”. Is there something you should do at the beginning of creating the flowchart diagram ? In my case I opted to use a tree heirarchy because I had over 23 items to depict.
not provide the information related to the topic
How do you rotate shapes in Word 2010? I am building a flowchart and have been trying to figure out how I can rotate the shapes, I have tried everything I know. I’m sure there is a simple solution but I have not been able to figure it out. Thanks for your help!
Have you tried this? http://office.microsoft.com/en-au/word-help/rotate-or-flip-a-picture-shape-text-box-or-wordart-HA010354797.aspx
Today I have noticed that Kingsoft Office Suite 2012 is freeware and main question is of i can do the same with this suit? Next to that what are your thoughts about this clone?
I read somewhere that it is based on OpenOffice and that it has been sold in China. It should have similar capabilities as OpenOffice, but I never used it before.