Access and manage your LDAP data with Luma

I have recently been dealing with LDAP and attempting to find easier solutions for this often daunting task. If you've ever had to try to set up and manage an LDAP server, you know exactly what I am talking about. Although installing and setting up an LDAP server is a challenging task, even more so is working with the data. Having to add users and manage your scheme from the command line is enough to send most administrators packing.
That is, until I discovered a very handy little tool, just for this purpose, called Luma. Luma is an LDAP manager that is pure graphical ease. If you already have your LDAP server up and running, you won't have any problem managing your data with this tool. In this article I am going to show you how to install Luma and how to connect to your LDAP server.
Installation
I'm going to show you how to install Luma on both Ubuntu and Fedora. It's actually quite simple. Just follow these steps:
Fedora
- Open up a terminal window.
- Su to the root user.
- Issue the command yum install luma.
- Okay any dependencies (if necessary).
- Once installation is complete, you can close the terminal.
Ubuntu
- Open up a terminal window.
- Issue the command sudo apt-get install luma.
- Enter your sudo (user) password.
- Okay any dependencies (if necessary).
- Once the installation is complete, you can close the terminal.
Now that you have Luma installed, let's open it up and connect to a server.
Usage
To start up Luma you will not find a menu entry, so you will have to run Luma from command line (or create a menu entry). To do this click Alt-F and then enter luma in the run dialog. Or you can leave that terminal window open and then just issue the command from within there.
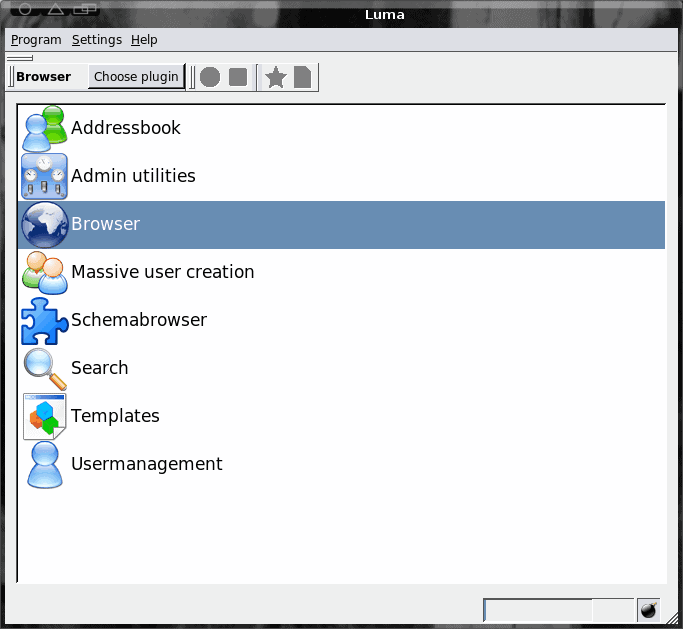
Once started you will see a simple window (see Figure 1) where you can choose from any one of the available plugins. In order to add a server you need to click Settings > Edit Server List. From this window click the Add button to create a new server.
The first step is to give this new server a name. This is a human readable name so it does not need to be a hostname or IP address. Â After you create a name click OK to move on to the real work.

Once you have created the server you have three configurations to take care of (see Figure 2):
- Network options: Hostname, Port, Encryption type.
- Authentication: Mechanism for authentication (simple, or SASL type), Bind as (login authentication), and Password.
- LDAP options: Follow aliases and/or Use Base DNs provided by the server.
The trickiest option for most is going to be the Authentication "Bind as" setting. You do not just log in with a plain username. Instead (as you can see in Figure 2), you log in with username and domain in the form of cn=USERNAME,dc=DOMAIN, dc=NAME. In the case of my example it's cn=admin,dc=wallen,dc=local.
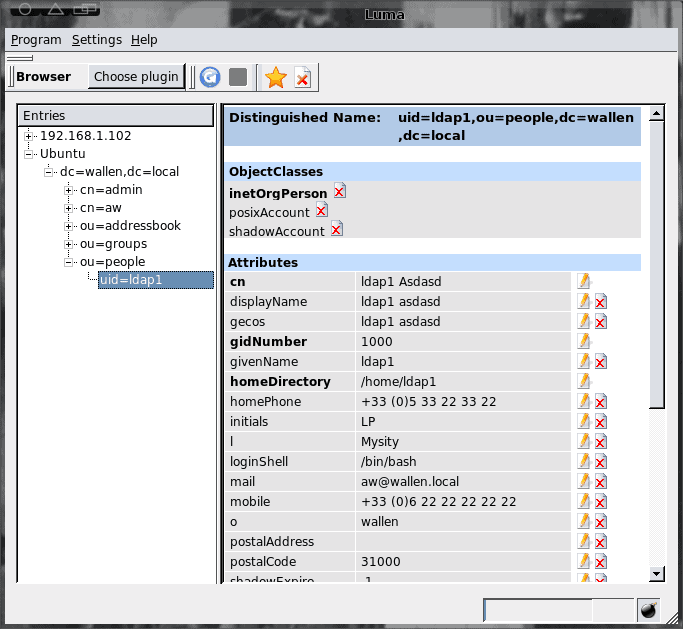
Once you have logged in you can then use the plugins like Browse (see Figure 3). This examples illustrates how you can manage the various aspects of your LDAP entries.
Final thoughts
In upcoming articles we will deal with more LDAP administration with Luma as it is, by far, one of the easiest front ends for the LDAP server I have come across.
Advertisement