Monitor Calibration Wizard
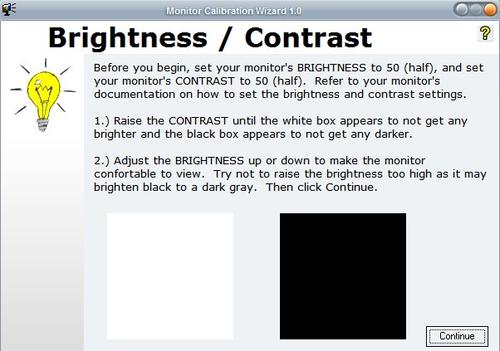
Calibrating a monitor, be it LCD or CRT monitor, can be a tedious task. I for one have always doubts about the settings that I have chosen when setting up the monitor for the first time. Questions about the monitor's brightness, the colors, contrast are not that easy to answer if you only have to rely on your eyes and have no test patterns that help you determine the correct settings.
The software Monitor Calibration Wizard [homepage] tries to aid the user in calibrating a computer monitor correctly by walking him or her through several steps that configure the monitor's brightness, contrast and color settings. These settings can be saved as profiles which can be started during Windows startup.
Every part of the calibration process displays patterns that can be used to find the best setting for the connected monitor. The first test deal with the monitor's brightness and contrast settings, after that the three colors red, green and blue will be tested before slight corrections can be made during the final test.
It does not take that long to calibrate the monitor. If you do not want to start another program during system start you can still use the calibration wizard but use the settings of your graphics card to make the changes.
Please note that newer versions of Windows come with their own monitor calibrating options and while you may get good results using them, it is often suggested to use a third party program instead as they make available better options, like the profile feature that Monitor Calibration Wizard ships with.
To open the native calibration wizard in Windows press the Windows key on your keyboard, enter calibrate and pick the calibrate display color option from the results. On Windows 8, you may need to switch to Settings first on the right before that option is displayed on the screen.
Advertisement
