Test your students with iTest

Educational institutions would be remiss if they neglected open source tools. There are so many available, you can cover nearly all of your needs. Recently I covered iTalc (see my article "Instruct your users or manage your classroom with iTalc") which allows you to instruct students and take control of their machines. Eventually you are going to have to test those students on their aptitude. With the modernization of classrooms (and the need to cut down on expenses and waste) why not test electronically?
One way of testing electronically is iTest. iTest is a computerized exam system that is made up of a server and a client. The server allows the instructor to set up questions and tests, whereas the client allows the students to take the tests you have created. And as you would expect, this is a client/server setup so test are done on remote machines. Because of this setup, students could even take their examinations outside of the classroom.
In this tutorial I am going to show you how to install and setup a iTest server so your iTest clients can connect to it in order to take their examinations.
Installation
I am going to instruct you how to install this tool on a Ubuntu system. Installing from source is tricky because you need Squirellshell install (and the current release of Squirrelshell segfaults and there are packages that can be enabled for apt, making installation a snap.)
Before you can install iTest you have to enable a repository on your system. To do this open up the /etc/apt/sources.list file with your favorite text editor. At the bottom of this file add the line:
deb http://ppa.launchpad.net/nagos/ppa/ubuntu karmic main
The above line is for 9.04 or 9.10. Once you've added it follow these steps:
- Issue the command sudo apt-get update.
- Issue the command sudo apt-get install itest.
The final command will run the installation of iTest. When it is complete you will see both iTest Client and iTest Server in the Applications > Education menu.
NOTE: You will have to install both server and client on the testing machines as well as the machine that will server as the test server. My advice is to go back and remove the Server entry from the Applications menu so the students don't even know it is there.
Now it's time to create a test, start the server, and connect the client machine.
Creating a test
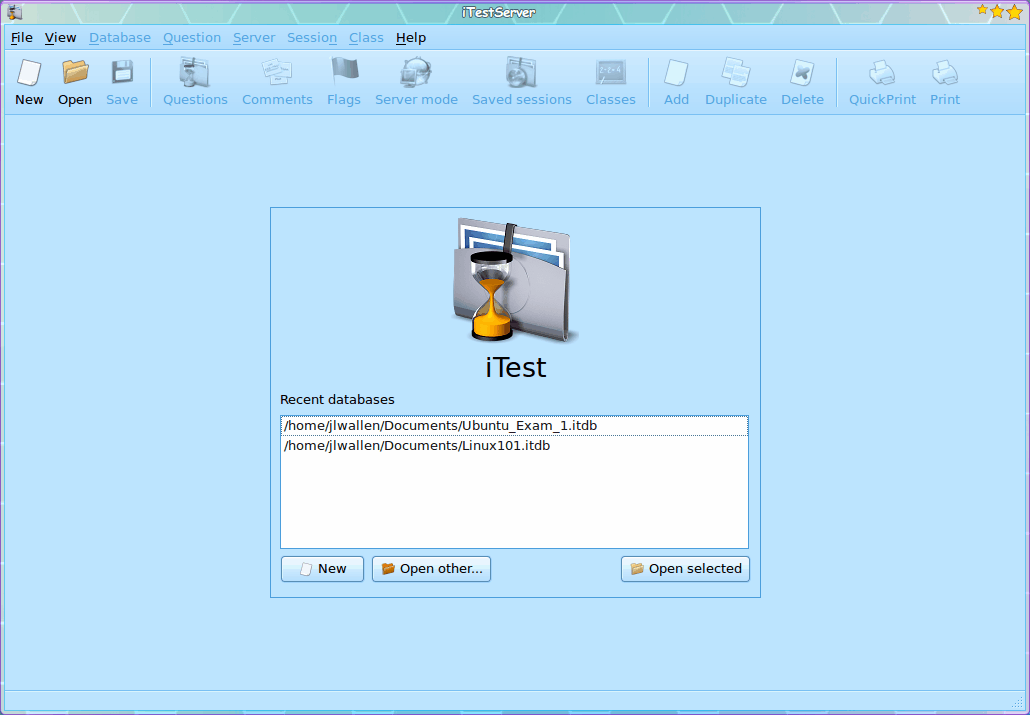
To create a test you will need to click on Applications > Education > iTest Server which will open up the iTest Server. when you do this you will see the main window (see Figure 1) where you can start a new database of questions (which make up a test).
The first thing you do is click the New button to create a new database. Give the new database a name (the test name will work) and then save the database file in a convenient location. You save these files so they can be opened at a later date for retesting.
Once the file is saved you will find yourself at the screen where you can add questions (see Figure 2).
In order to add new questions follow these steps:
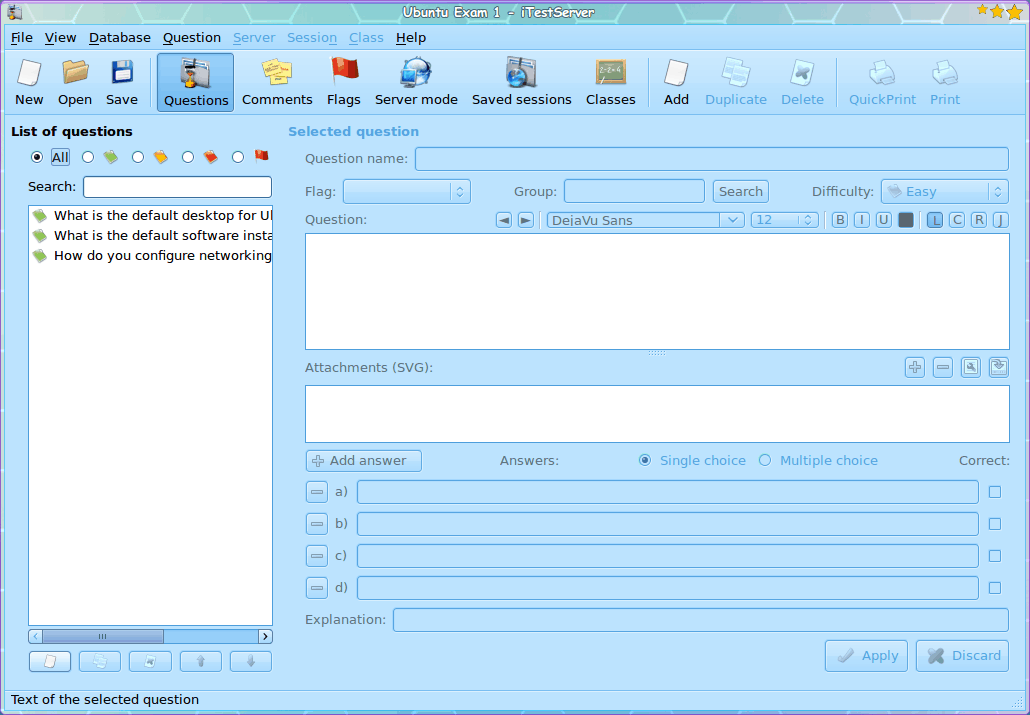
- Click the Add button.
- Enter your question in the small "Question name" window that pops up and click OK.
- Add your answers in the bottom section.
- Make sure you mark which answer is correct.
- Click Apply to save the Question.
Continue adding questions until your test is complete. When the test is complete click on the Server Mode button in the tool bar to go to the Server window (see Figure 3).
Server mode

When you are in Server mode there are a number of options you can take care of before starting the test. The only option you MUST configure is the "Time for" option. By default the server gives 00:00 time for the test. You must at least give 1 minute for the exam.
After you configure all of your options click the Start server button which will open a new window instructing you which port the server is running on. Unless you configure a port, iTest server will select one at random. Each test will be on a different port. The server is now running and your clients can now log on to take the exam.
To log in the clients will go to Applications > Education > iTest Client, enter the IP Address (or url) of the server (as well as the port defined when the administrator started the server), and click connect. When the student is ready to begin the exam the student clicks the Ready button and the testing will begin.
Final thoughts
iTest is an outstanding, open source tool for testing students aptitude. In later articles I will examine other aspects of iTest and reveal even more power and usability this tool offers.
Advertisement


nice work sir, how do i get the itest sever ip address , its the same thing with the computer ip addresses? thank you
For some strange reason I got my software in the Russian language, but I wanted English.
Really nice piece of software. I usually use self-made program, but i’ll test this one for some time. I like it for now…
Very interesting project which I have never heard before, AFAIK. Thank you for posting about this Jack. Glad to see they got a Win32 version too though ;-)