Microsoft adds support for Profiles in Outlook for Mac

Microsoft has introduced support for Profiles in Outlook for Mac. The option will let users with multiple email accounts work with a specific account in a distraction-free mode.
The Redmond company made the Outlook for Mac free for all users last month, you may now use it without an Office license or a Microsoft 365 subscription. The change was announced alongside a revamped version of the email client. You can read about what's new in the native Apple Silicon app in our previous coverage.
How to add Profiles in Outlook for Mac
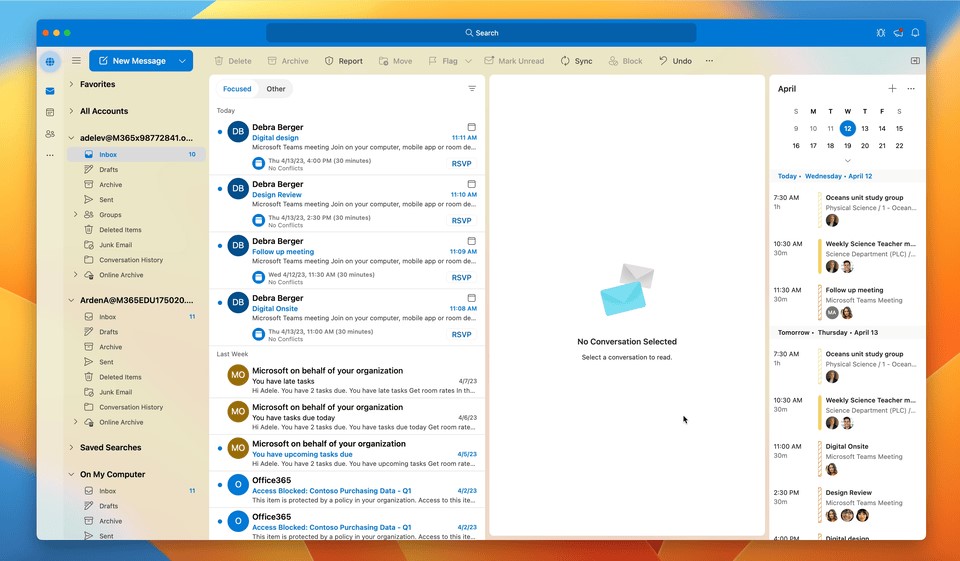
1. Click on the Globe icon at the top of the sidebar.
2. It will open a pop-up that has the following options: Work, School, Family, Personal, Freelance, Finance, and Custom.
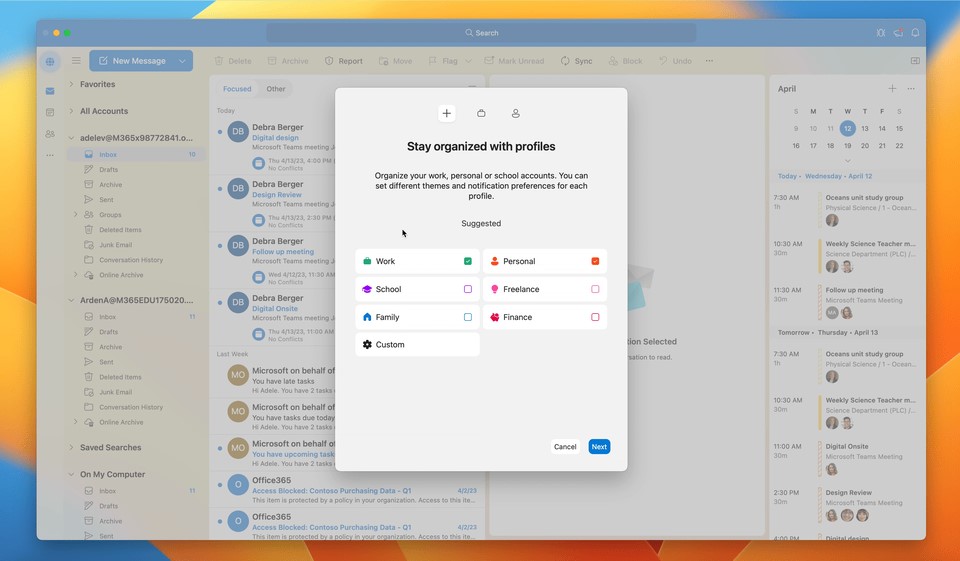
3. Select an option that fits your account's usage, and click on Next.
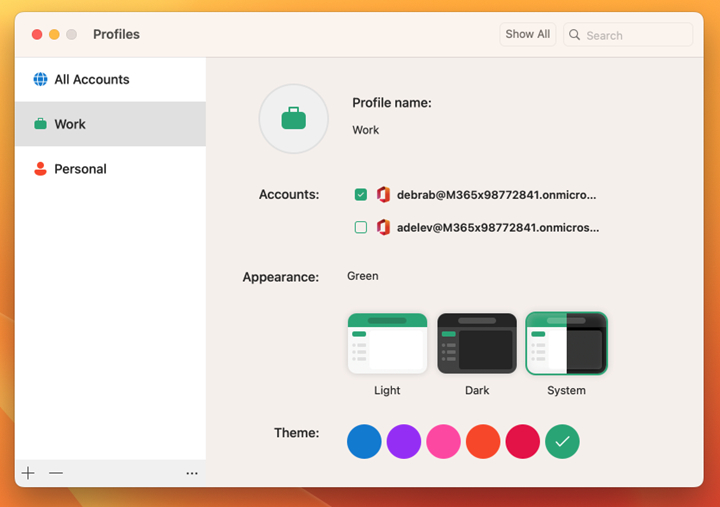
4. You will be asked to pick the email account to be associated with the profile.
5. Click on Done.
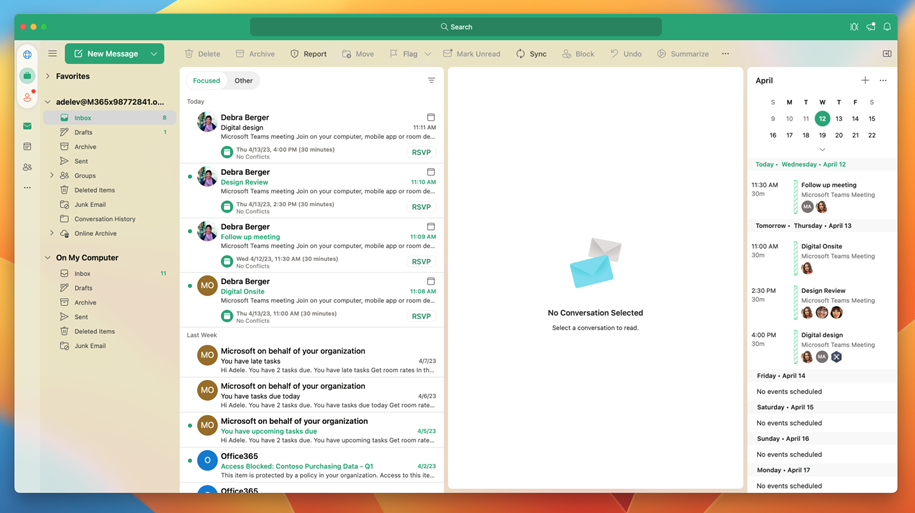
You may notice that a new icon for your profile has been added below the Globe icon. Clicking on it will allow you to view your inbox and manage all mails without the clutter of notifications from your other accounts, i.e., all your other accounts are muted. The app will display badges to indicate unread items in your other profiles/accounts, so you don't miss the messages.
Note: The feature is available in the new Outlook for Mac, and you must have two (or more) accounts added in the app. You can set up multiple profiles at once. For example, if you select Work and Personal options during the profile set up process, Outlook for Mac will prompt you to select the email account for each profile. There are no limits to the amount of profiles that you can have. To edit the preferences, click on Profiles > Manage Profiles.
Users can switch between Outlook profiles by clicking on the specific icon on the sidebar. For a faster way, you may use the Control + Tab hotkey.
Microsoft says that it has integrated support for Siri Shortcuts in the Outlook app, so you can use it to switch to a specific profile automatically. e.g. You may set Focus Filters to switch to your work profile in the morning, and enable your personal profile account in the evening on a daily basis.
Outlook for Mac has some customization options that you can tweak to set a different appearance for each profile. The options include setting the light theme or dark theme, or let the app follow the system's theme. The app's theme color can also be changed, though there are only a handful of options to choose from.
Images via: Microsoft
Profiles in Outlook for Mac are currently available for Insiders who are on the app version 16.70 (Build 23021201) or above. The feature is being rolled to users slowly, so it may not be readily available for you.
Even though the Mac version of the email client is now free, you cannot enroll into the Insider Program without a Microsoft 365 subscription. Hopefully, the company will let free users test early builds of the app in the future.
Download Microsoft Outlook for Mac from the App Store.