How to install Windows 11 in VMware Workstation


If you want to learn more about how to install Windows 11 in VMware Workstation, you are at the right place, as we will be giving you every step you must follow in the following sections of this guide.
VMware Workstation is one of the world's most used virtual machine software thanks to its features and ease. We included it in our best virtual machine software of 2023: Top 3 list alongside Parallels Desktop and VirtualBox. It is mainly used in enterprise networks, but if you are looking to use it for personal use, you can try it for free, and supports Windows, Mac, and Linux. For commercial use, VMware Workstation 17 Player is priced at $149, and Pro is $199.
How to install Windows 11 in VMware Workstation: Must-haves
Before you start, there are a couple of things to check, as you can't just do these steps under all circumstances. Let's check our must-have or must-do-beforehand list before we move on to the next steps.
Firstly, you need to download and install VMware Workstation. You can check the next section of this article if you don't know how to do it. Next, you also need a Windows 11 ISO image file. Head over to our "how to download any Windows 11 ISO from Microsoft" article for further information.
Apart from downloading these two, you also need a PC running a Windows 10 or above operating system with TMP 2.0 and virtualization support. Lastly, you need a capable PC that has at least 64GB disk space, a dual-core x64 processor, and 4GB RAM.
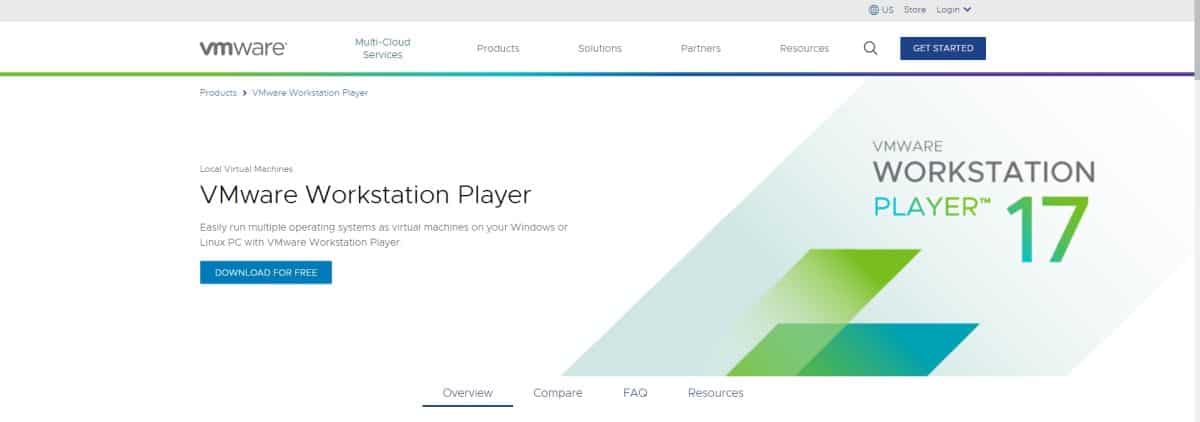
How to download VMware Workstation?
As mentioned above, the first step is downloading the VMware Workstation before the action starts. This guide covers "how to install Windows 11 in VMware Workstation 17 Player." Please follow the steps below to download and install the application on your PC successfully:
- Head over to the official website.
- Click on the "Download for Free" icon.
- Wait for the download to finish, and then install it on your PC

VMware Workstation System Requirements
- A compatible 64-bit x86/AMD64 CPU launched in 2011 or later *
- 1.3GHz or faster core speed
- 2GB RAM minimum/ 4GB RAM or more recommended
General Host OS Requirements
VMware Workstation Pro and Player run on most 64-bit Windows or Linux host operating systems:
- Windows 10
- Windows Server 2019
- Windows Server 2016
- Windows Server 2012
- Windows 8
- Ubuntu
- Red Hat Enterprise Linux
- CentOS
- Oracle Linux
- openSUSE
- SUSE Linux Enterprise Server
How to install Windows 11 in VMware Workstation: Let's begin
The first thing to do is to create a virtual machine for the OS in VMware Workstation 17 Player. To do so, here are the steps you must follow:
- Launch VMware Workstation 17 Player.
- Click on "Create a new virtual machine."
- You will see three options offered to you, select "I will install the operating system later" at the bottom and hit Next.
- Select Windows 11 x64 from the drop-down menu while keeping the Guest Operating System section as Windows, hit Next.
- Enter whichever name you want.
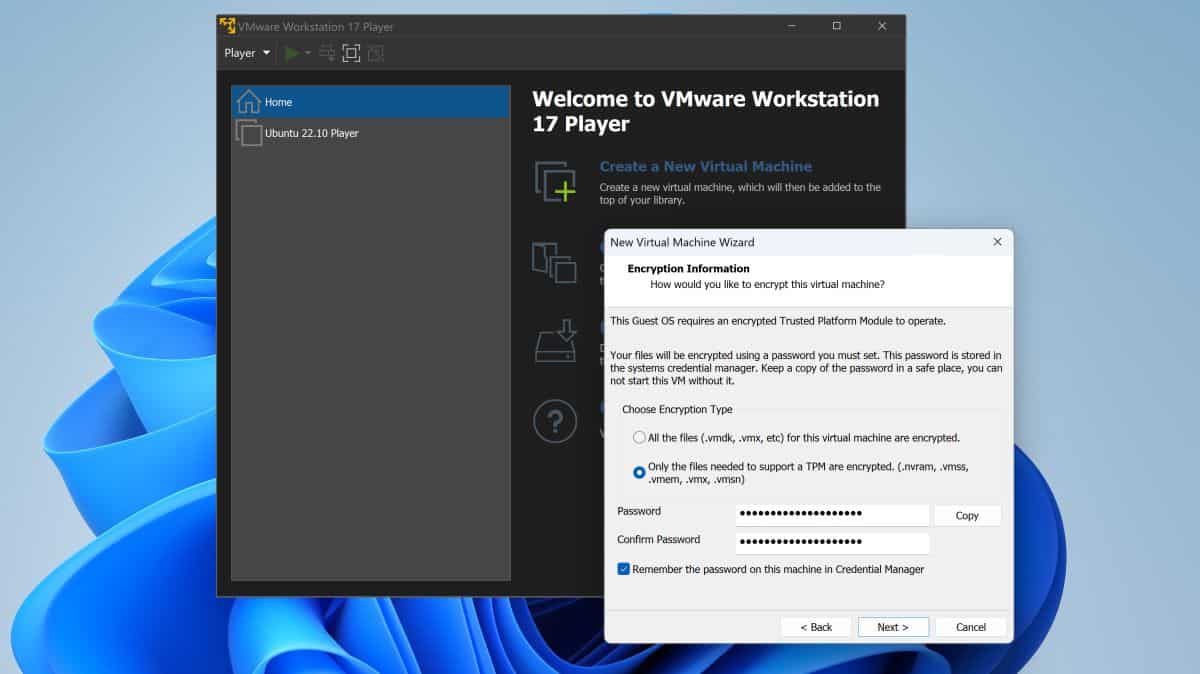
- Select "Only the files needed to support a TPM are encrypted" and create your password in the box below. Don't forget to keep the "Remember the password on this machine in Credential Manager" option ticked.
- If you don't want to install any other programs, adjust the disk capacity by setting the maximum size to 64GB. Select the "Split virtual disk into multiple files" option and hit Next.

You will be shown a summary of all your picks throughout the setup process. Double-check every setting, and then move on to add the Windows 11 ISO file you downloaded beforehand. Keep on following the steps below:
- At the "summary" page, you will see a little button named "Customize hardware," click on that.
- Go to the Memory tab and set the RAM allocation 6GB or more to have a better experience.
- Head over to the Processors tab and allocate at least four cores, again, for a better experience.
- Click on the New CD/DVD (SATA) tab and select Use ISO image file. It is under the Connection part.
- Click on Browse and find your pre-downloaded Windows 11 ISO file.
- Finally, close the Hardware window and hit Finish on the summary page.
Install Windows 11
Now that you have successfully created your virtual machine, it is time to install Windows 11. Here are the steps:
- Select Windows 11 virtual machine on the left-side menu and hit "Play virtual machine."
- Press any key to boot from the ISO file.
- Select your language and region and hit Next.
- Click on "I don't have a product key" and select which Windows 11 version you want to install.
- Accept the End User License Agreement.
- Click on the "Custom" installation option.
- Hit Next and wait for it to reboot a couple of times.
- Pick your region and keyboard layout.
- Once it asks you for a Microsoft account, hit Shift + F10, type oobe\bypassnro, and hit Enter.
- Wait for it to boot again.
- Select "I don't have internet."
- Pick a name, password, and three security questions for safety reasons.
- Uncheck the tracking options and hit Accept.


Install VMware Tools
Even though the process is done, you need to install VMware Tools to use all the features. The screen will appear cropped, and some of the features won't be available. To fix all that, follow the steps below:
- At the top menu, click on Player.
- Move your cursor to the "Manage" section and click on "Install VMware Tools."
- Press the Win + E keys to launch the file explorer.
- Open the mounted ISO file drive that was mounted after the second step.
- Locate the setup64.exe file and press the Ctrl + Shift + Enter to open it as an administrator.
- Select the "Complete" option in the middle of the VMware Tools Setup.
- Hit Install and Finish after everything is done.
- Restart the virtual machine by hitting Yes, and all the changes will be applied.
If you want to check our other articles on virtual machine software, here are a few more:
- How to Install MacOS on Windows 10 in a Virtual Machine
- How to install macOS in VirtualBox on Windows 11?