Capture screenshots, delayed shots, scrolling snapshots, and edit them with Screenpresso
Screenpresso was my go to screen capturing option for many years, until a friend recommended that I try ShareX a couple of years ago. We have covered plenty of such tools in the past including Martin's favorite program PicPick, and I think it's fair to share my experience with my former favorite tool.

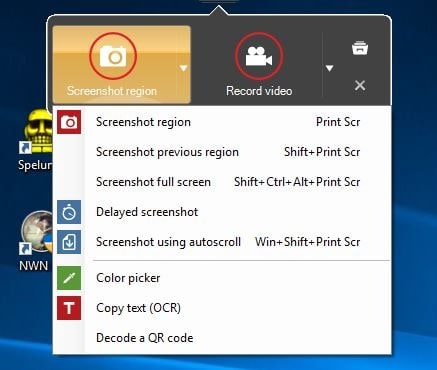
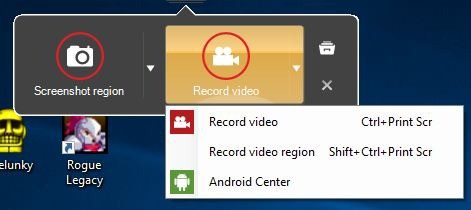
Screenpresso places a capture bar at the top of the screen that has the two buttons to record a video or capture a screenshot of a region. Clicking the arrow next to the icons displays more options.
The same options are available from the tray icon's context-menu, which is my preferred way of using the program.
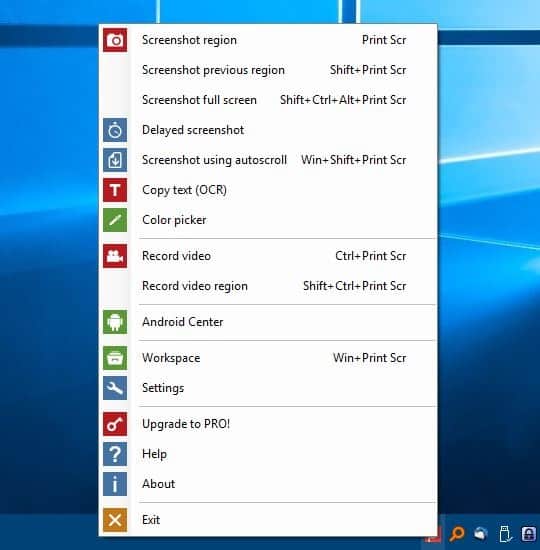
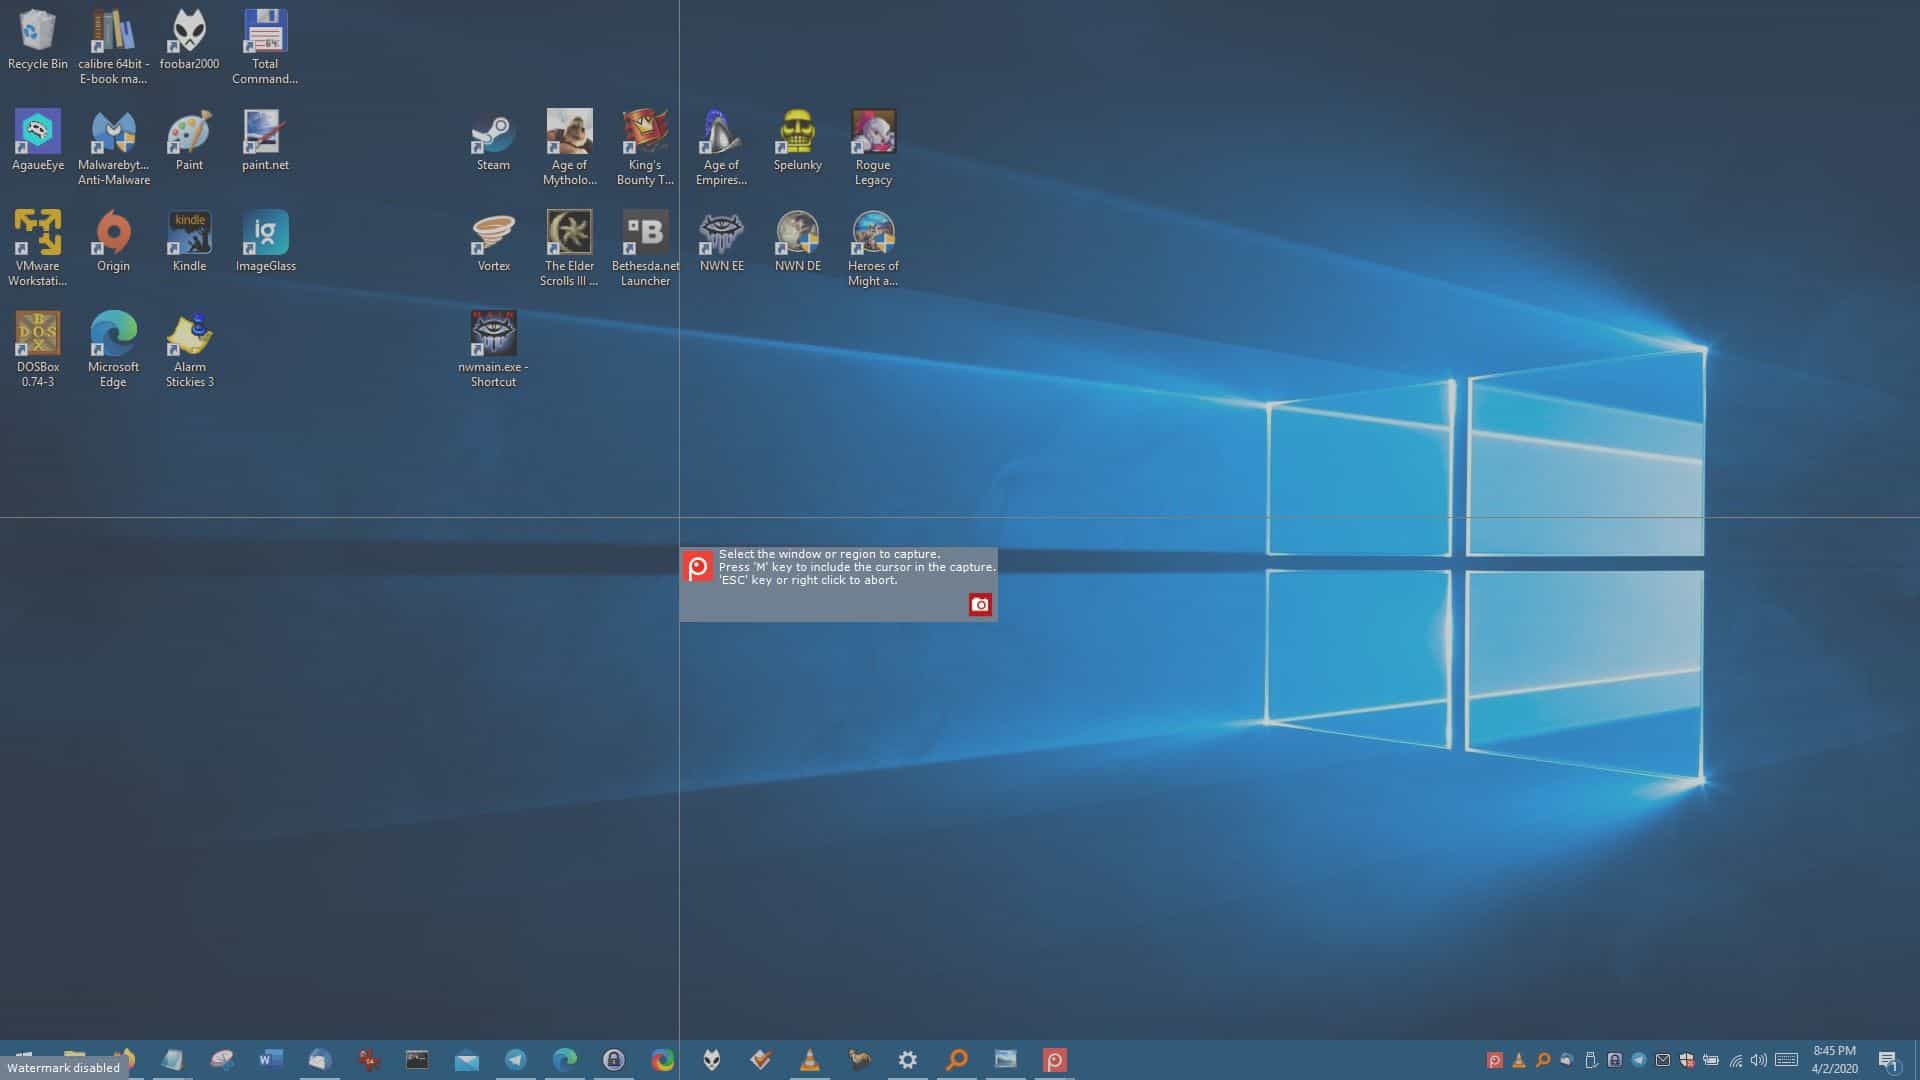
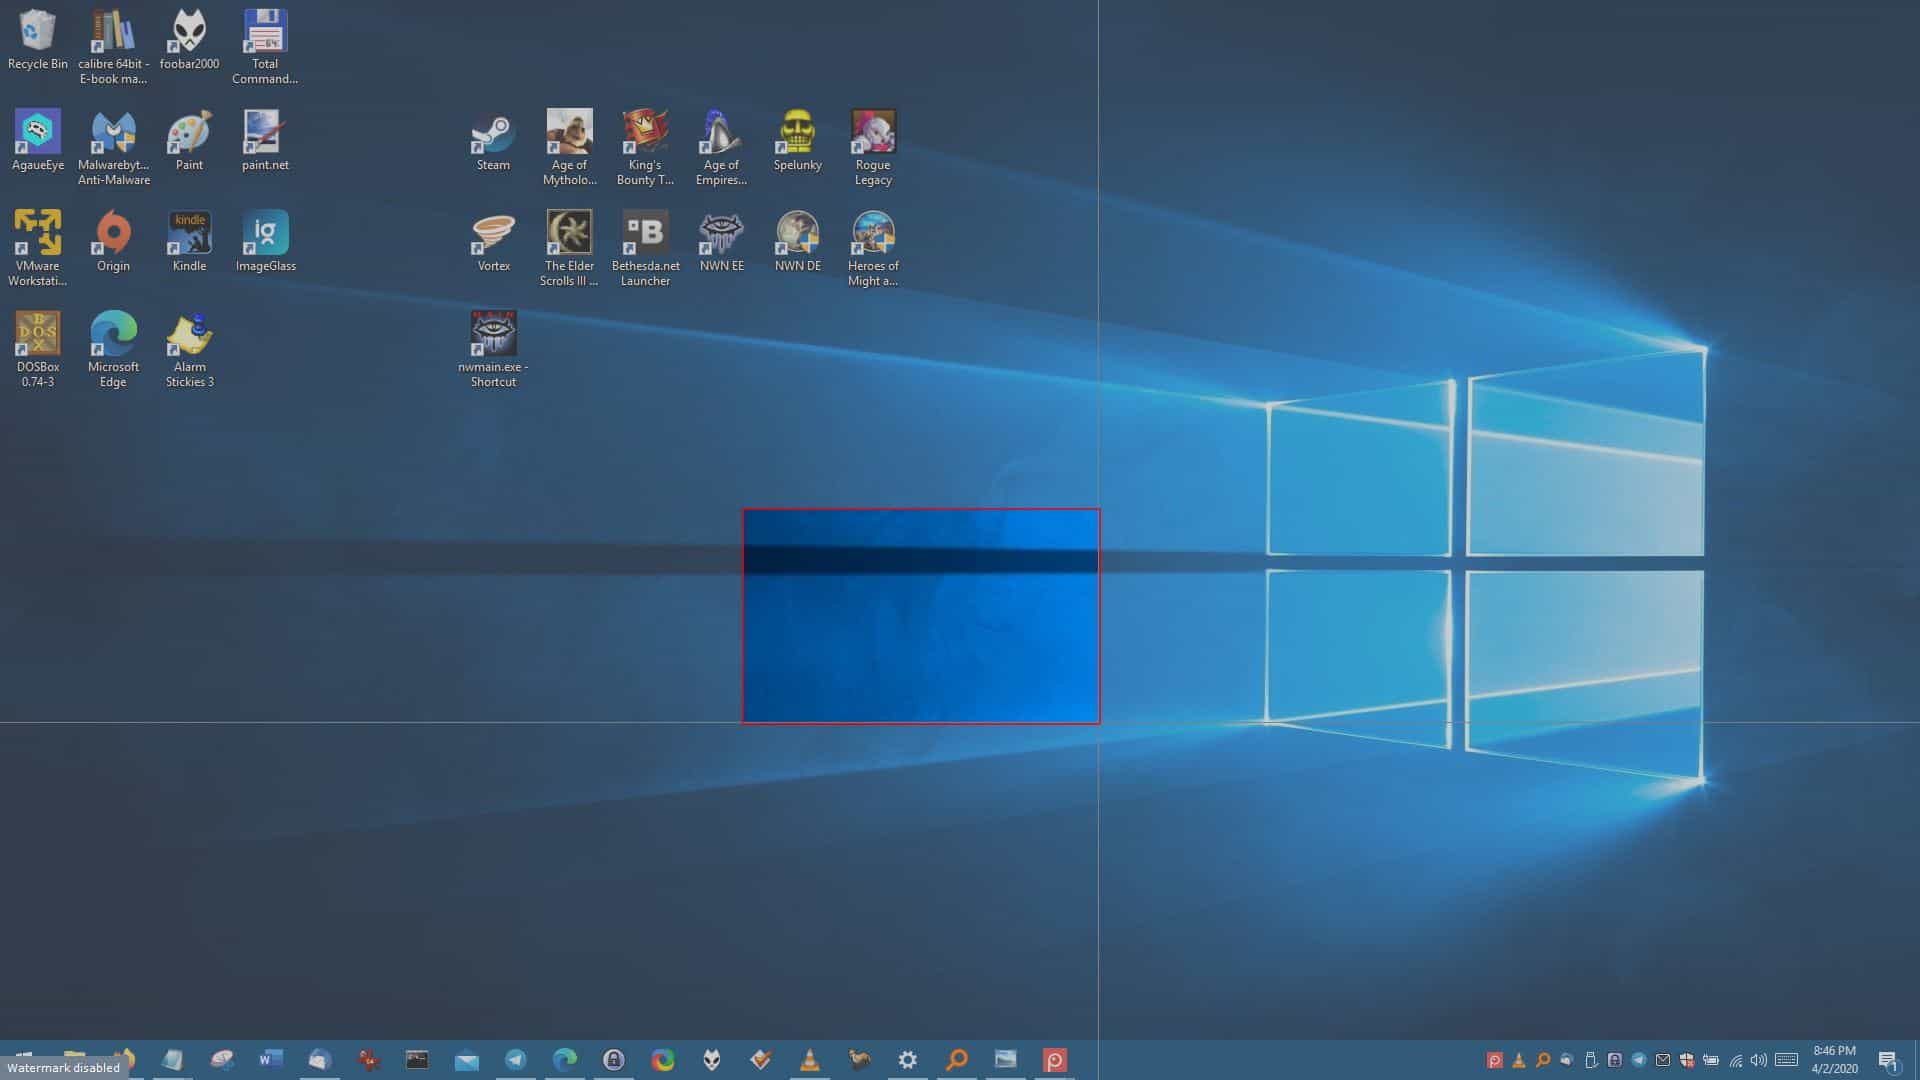
Click the Screenshot region option and draw a box anywhere on the screen to capture the content in it. "Screenshot previous region" saves a snapshot of the screen's region that you marked earlier.
Note: I recommend disabling the anonymous telemetry from the Settings > General tab.
Want to capture the entire screen? Use the "Screenshot full screen" option. Timed captures are easy with the "Delayed screenshot", which captures a selected region or the entire screen after a delay of three seconds.
Screenshot using autoscroll is a nice option when you want to capture a snap of a web page. It's very easy to use. For e.g go to the gHacks homepage, select the area where you wish to get the scrolling screenshot from, and hit the left mouse button. Use the mouse wheel to scroll and click the left mouse button as you keep scrolling. Right-clicking finalizes the capture, the end result is a long screenshot.
Note:Â Despite the name autoscroll, it doesn't scroll down automatically. You'll need to use the mouse wheel or the scroll bar.
Video recording
Screenpresso isn't exactly a screen recording tool, and as such you shouldn't use it for gameplay or other videos. It's useful for creating short videos mostly in my opinion.
Draw a box or use one of the resolution options (1280 x 720 YouTubeHD, 1920 x 1080p YouTube HD, etc) to capture the screen. Hit the start button and it begins the process. You can tweak some settings such as direct recording to mp4, display a countdown timer, highlight mouse-clicks, record audio from system sound or the microphone, etc.
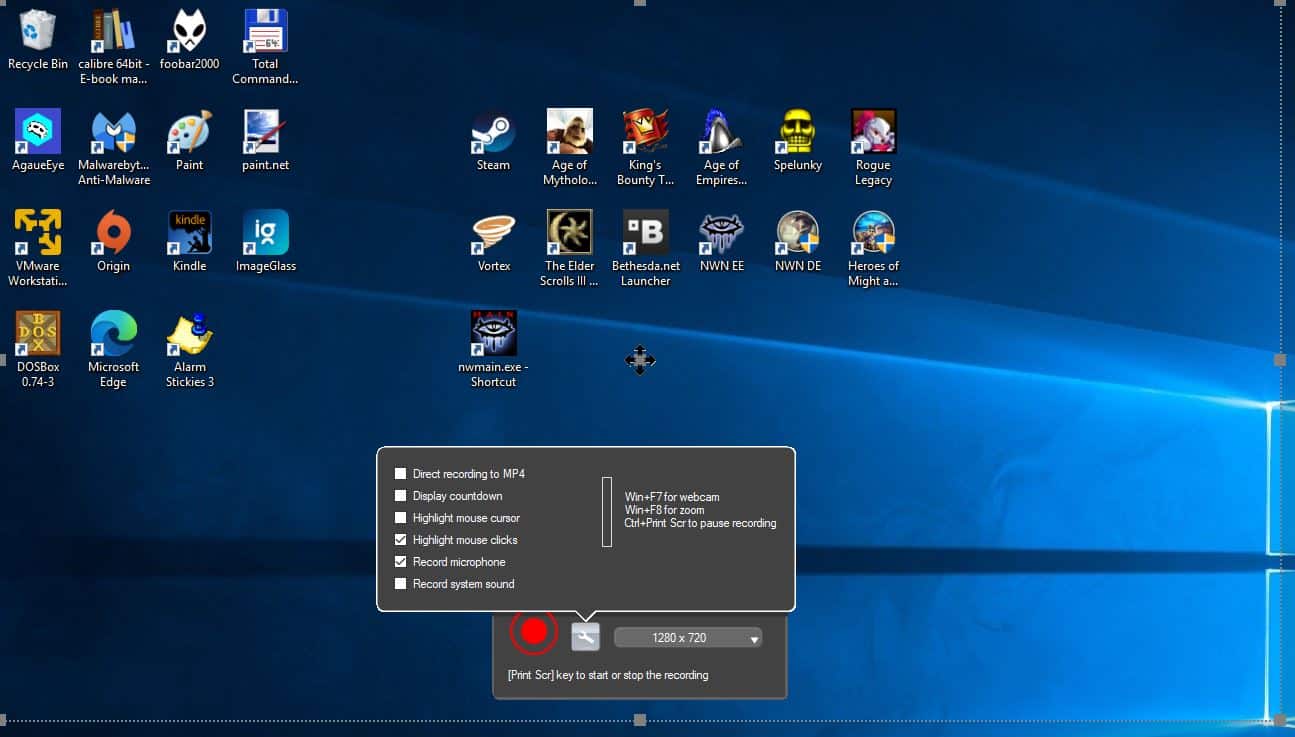
Note: Please be aware that the free version of Screenpresso includes a watermark in the videos. But like I said before, it isn't a screen recording tool. Take a look at OBS Studio, ScreenToGIF, or SimpleScreenRecorder which are free and offer more features.
While you're at it, you may ignore the Android Center, Copy text (OCR) and Color picker options as these are exclusive to the Pro version. I used the premium version and found the OCR feature to be a sort of hit-and-miss. For a Color picker you're better off using the freeware Color Mania tool.
When you capture a screenshot, the program displays its workspace that contains a preview of the snapshot. It stays on the screen for a few seconds and fades away. To reopen the workspace left click the tray icon. You'll see all recent screenshots that you've captured with the program. The application automatically saves a copy of every screenshot that you take.
Screepresso options
Screenpresso saves the images in the PNG format by default. You can change it to JPG, GIF, BMP, or TIF from the Screenshot tab in the program's settings. This page has several useful options. You can customize the naming pattern of the files and the hotkeys for capturing screenshots can be customizable. The watermark option is yet another feature locked behind the Pro version, but don't worry, the program has an editor which can be used for the same task.
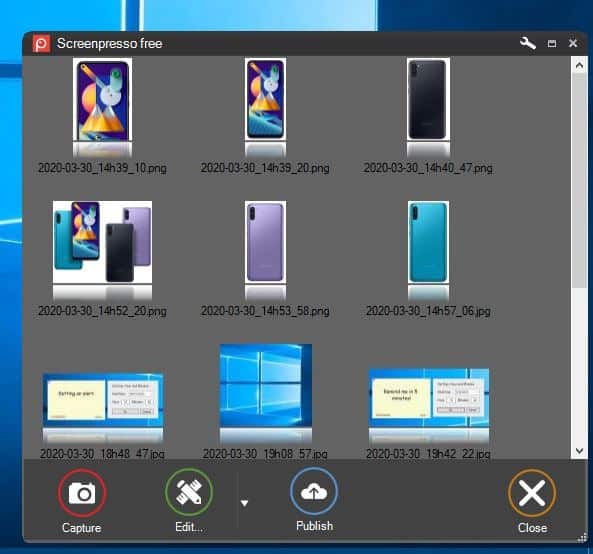
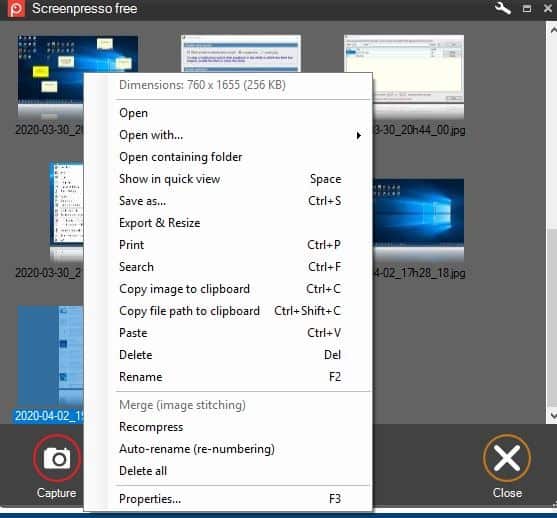
Right-click an image in the workspace to access a context menu. You can use it to perform various operations such as open (with an external program or the internal viewer), save, export, resize, copy it to the clipboard etc.
Editor
Select a screenshot from the workspace and click the edit button to open Screenpresso's built-in image editor. You may use it to edit existing images, and for editing multiple images at the same time.
The editor has the following tools: draw an arrow, rectangle, add text, text in bubble (like in a comic book), add numbered buttons, highlight text, draw ellipse, polygon, freehand, blur content, add image, magnifying glass and draw brace.
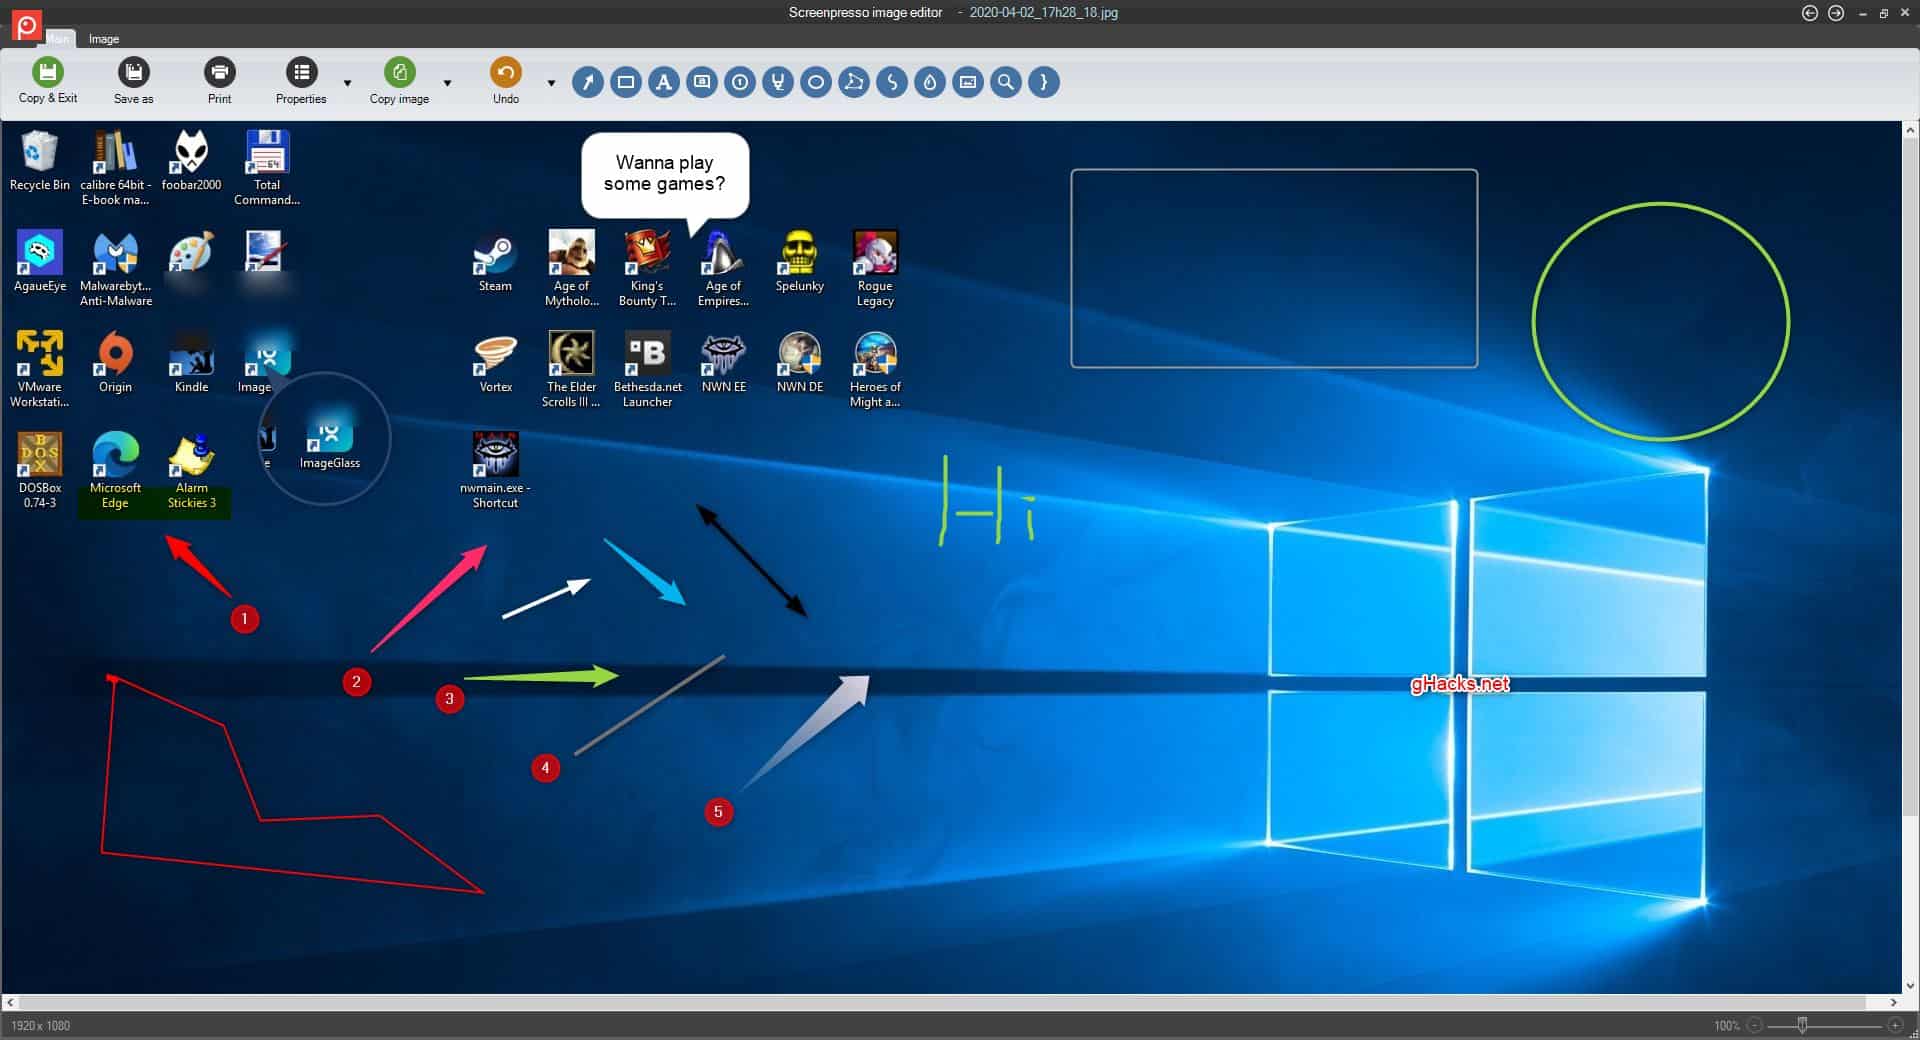
The arrow tool has multiple types including double-sided arrows, line, styled arrow, etc. You can change the opacity, color, thickness and shadow, for most of these tools. The magnifying glass doesn't actually magnify content, but is useful for highlighting an area in a picture. And you may use the text and image options in the editor to add watermarks to your screenshots, photos, etc.
I remember being annoyed by Screenpresso's forced updates. I had the Pro version on my PC, while the free version was on my laptop. The free version always forces you to update to the latest build; it is impossible to skip the update and use the application (unless you work offline).
Here's a screenshot I took after running an old version of Screenpresso that I had saved.
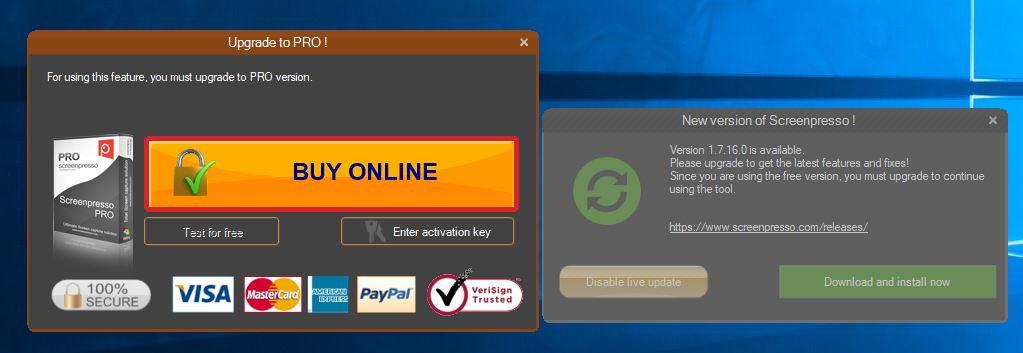
It may not sound like a big deal, but what if the developer decides to cut a free feature and put it behind a paywall or add unwanted content to the program? That will not be very nice, will it? The program displays a nag screen once you reach a certain number of screenshots, suggesting you to upgrade to Pro, though you can ignore this. Aside from those annoyances and the locked features, Screenpresso is a pretty good application for taking screenshots and editing them.









Doesn’t Windows already have a native screen capture tool?
HAVE ALSO BEEN USING THE FREE VERSION FOR MANY YEARS.
HAVE NEVER REACHED A POINT OF TAKING SCREENSHOTS THAT I GOT A NAG MESSAGE.
YES, YOU HAVE TO UPDATE WHEN A UPDATE IS AVAILABLE BUT SO WHAT. IT DOESN’T UPDATE
SO OFTEN THAT IT IS ANNOYING.
NAYSAYERS ARE FIXED AND HOOKED ON USING THEIR OWN SCREENSHOT PROGRAMS AND
SO WILL NOT GIVE THIS ONE A TRY!!! Personally I HAVEN’T FOUND A BETTER ONE.
PS: EXCUSE THE UPPER CASE, I AM NOT YELLING. I HAVE AMD AND SLOWLY GOING BLIND.
Hi Patrick,
Here’s a tip to be less ‘obnoxious’ about it (sorry, that’s how I perceive it):
– Write your comment on Notepad++
– Select All (Ctrl+A)
– Edit > Convert Case To > Sentence Case (Ctrl+Alt+U)
– Copy (Ctrl+C)
Then paste your text in the form box (Ctrl+V)
I’ve been using an old (and, as far as I know, still free) portable version of FastStone Capture for many years now. No nag screens or hassles. Easy to use. Edit options. Not a chance in hell I’d switch to something like this where “the program displays a nag screen once you reach a certain number of screenshots, suggesting you to upgrade to Pro, though you can ignore this. Aside from those annoyances and the locked features … ” I don’t even understand why it was reviewed given that Ashwin states at the outset that he no longer uses it. But then, I’m having trouble understanding why a number of Ghacks posts in recent times have been written. Quality over quantity any day for me.
+1 Been using it for years, or the Windows Snipping Tool.
I’m a long time user of FSCapture. Can’t see myself switching. I’m open to trying other alternatives and have given them a try in the past but none have served my needs as well as FastStone.
If you’re on Windows ShareX is a no-brainer pick. It can do basic screenshot, video capture and many other useful features. Oh and it’s a FOSS so no nag screen, paywall or other bullshit.
Same here, the editor is on par with Screenpresso I think, though I haven’t used it recently
I’m trying to ‘convert’ colleagues, but they’re still intent on using Greenshot and PicPick.
I wish ShareX would release a ‘completely offline’ version of their installer so that it would assuage fears the program tries to upload something online (would be flagged by the DLP/firewall software anyway)