Get Canary on your Chromebook in a few simple steps

Google's operating system has been on the rise recently, with new hardware debuting on a regular basis, and seemingly endless updates to the platform. Despite a few speed bumps, such as the charger issues on the HP 11, it's a mostly solid operating system, though you shouldn't expect the expandability found with Windows.
In addition, it seems to be doing fairly well in terms of sales. Amazon for example mentioned that two of the three best-selling notebooks during the US holiday season were Chromebooks (one from Acer, one from Samsung).
If you use the Chrome browser then you're probably aware of the multiple versions, beginning with "stable" which most customers use, then ranging back into increasingly more cutting edge builds up to Chrome Canary, the most up to date version of Google Chrome if you do not count Chromium as well.
It's always been possible to switch a Chrome OS-based laptop to the beta channel of the operating system, but you can actually get Canary as well. There are a few steps to follow in order to do this, and it is usually not something that you should recommend to casual users, but if you don't mind life on the cutting edge, then follow these instructions.
First you'll need to put your notebook into Developer Mode, a process that varies by device. I am using an HP Chromebook 11, but there are instructions for most devices here. This isn't for the beginner, so if you don't feel comfortable then, by all means, stop right here.
For HP's Chromebook 11, you first need to enter Recovery mode by holding down ESC and Refresh, and poking the Power button.
When the Recovery Mode screen comes up, you need to press Ctrl-D. That's not all though, and it is best to read the full guide on the Chromium website.
Once you have achieved Developer Mode, then you still have work ahead, but it's a bit less scary from here on. Start off by pressing Ctrl+Alt+T to open the command prompt -- it looks mostly like it does in Windows, though it's in a browser tab, which feels a bit strange. Ignore the warning messages.
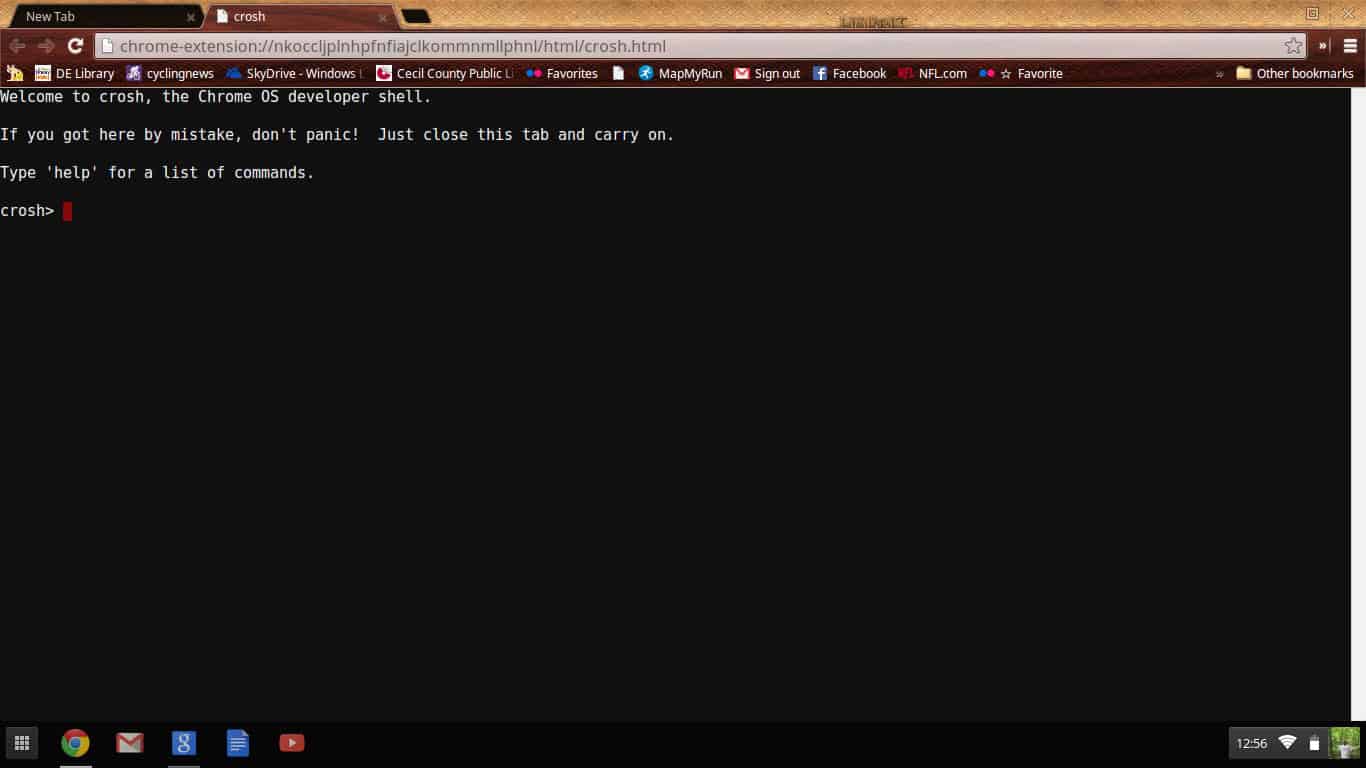
Type "shell" and hit enter, then follow it with "sudo su" to gain root access to the device. Now there are just two more entries to make, which you'll find below. Be sure to enter the text carefully.
- update_engine_client -channel canary-channel
- update_engine_client -update
Once all of this is completed, you can reboot the Chromebook, and you'll enter Canary mode. If you change your mind, then you can always go back -- just follow these instructions.
Thanks to Chrome Story for the tip.
Advertisement


Hi there,did you also try to look around with pwd and cd once you got into crosh?or maybe they made their own commands set I wonder.
BTW,can you help me with this:
http://superuser.com/questions/694336/sony-vaio-vpcee2e1e-memory-upgrade-issue
Cheers