Set up an LDAP server on Fedora
LDAP (Lightweight Directory Access Protocol) is one of the more complicated setups for a Linux machine. LDAP is to Linux what Active Directory is to Window. And if you have a lot of users on a network, which log into various machines, you will want something like LDAP in order to retain all of their information on a single, stored location.
But because LDAP is fairly complex, it is not often used except by those who have the lengthy period of time it takes to understand the task of getting an LDAP server up and running. That doesn't need to be the case, if you happen to have a Fedora server lying around. There is a tool, 389 Directory Server, that helps you to get this up and running quickly and easily. In this article I am going to show you how to install and set up the 389 Directory Server.
Installation
The installation of 389 DS is simple. Just follow these steps:
- Open up a terminal window.
- Su to the root user.
- Issue the command yum install fedora-ds.
- Accept all of the dependencies.
- Wait for the installation to finish.
Now you are ready to begin. The configuration of 389 is done via command line. Once that is complete you can then manage your LDAP server with a nice GUI tool.
Configuration
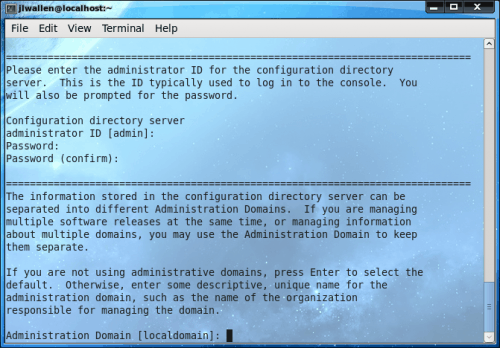
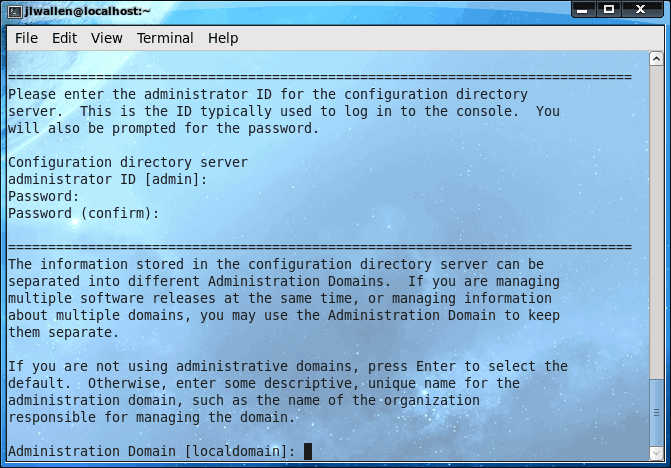
The configuration takes place in the terminal window. To begin the process issue the command (as root) setup-ds-admin.pl. This will begin a process that will take about 14 steps. Each step looks similar to that in Figure 1.
The steps for the setup are:
1. Agree to license.
2. Set up warning alert.
3. Choose type of installation.
4. Configure fully qualified domain name for name.
5. Server user name.
6. Do you want to register this software with an existing configuration directory server?
7. Administrator ID.
8. Administration domain.
9. Server network port.
10. Directory server identifier (name).
11. Valid DN for your directory suffix.
12. Directory Manager DN.
13. Administration network port.
14. Save configuration and set up server.
The final step is basically writing your configurations to the config script and then starting the server. Once you have completed these steps, the hard part is over! Don't worry about not understanding any of the above explanations, as each step is clearly explained on its own screen (as shown in Figure 1).
Now that your setup is complete, you are ready to fire up the GUI admin tool.
The admin tool
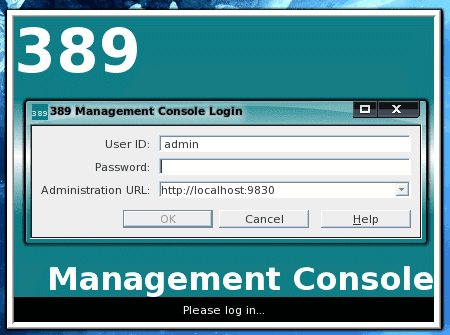
The administration tool is started (as the root user) with the command 389-console. When you login to the admin tool you will need to use your admin username and password you created during the setup and the URL (including port number) you created (see Figure 2).
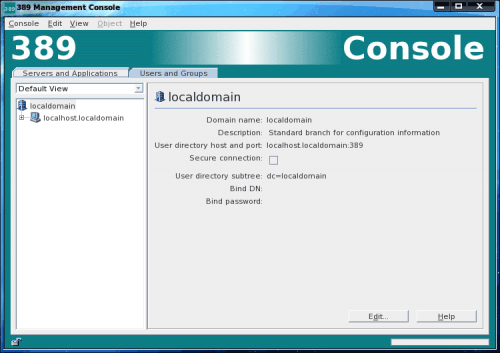
Once you have successfully logged in you will now be in the 389 Directory Server Management Console (see Figure 3). It is from within this console that you actually take care of all of the LDAP management (we'll save that for another article).
Final thoughts
If you've ever tried to set up LDAP manually then you know it can be a real pain. With tools like 389 Directory Server, this process has become exponentially easier. Give this a try and see if you have better luck setting up your LDAP server.
Advertisement





Hi!
With samba its will run ! any idea? give me a light!
Hi!
One cuestion. What client can use for Microsoft user?
tks
how about steps for ssl config and replication to at least one more server?
Have you read the deployment guide? Available here: http://www.redhat.com/docs/manuals/dir-server/8.1/deploy/index.html
Great tool, i just saw it yesterday while am searching for MS AD alternative. But i should install LikeWise Open on the client in order to join the domain ?
Or is there any built-in app or a trick ?
Google for Samba, Kerberos and joining a Windows AD domain. Here’s one article that explains how to do it: http://www.enterprisenetworkingplanet.com/netos/article.php/3487081/Join-Samba-3-to-Your–Active-Directory-Domain.htm