Creating self-signed certificates with gnoMINT

I do a lot of work with Linux servers. Many of those servers are either web or mail that require the use of a signed certificate for authentication. In some of these cases a CA authorized certificate is necessary. In other cases though a self-signed certificate can be used. I can generate a self-signed certificate by command line pretty easily...but not everyone wants to take the time to learn how to do this. For those that want to ease of a user-friendly GUI tool to generate their certificates there are a few tools. Not all of these tools work. The KDE tool Kleopatra is horribly broken. The GNOME tool gnoMINT, on the other hand, works flawlessly.
In this article I am going to show you how to install and use gnoMINT to generate your very own self-signed certificates that can be used for your web or email (or whatever) servers. NOTE: This article is not about showing you how to add those certificates to your various servers, but how to generate those certificates that can then be applied.
Installation
The installation of gnoMINT is simple. Just follow these directions:
- Open up you Add/Remove Software tool.
- Search for "gnomint" (no quotes).
- Mark the tool for installation.
- Click Apply to install.
Once you have gnoMINT installed you will find it located in Applications > System Tools. Let's take a look at the process for creating a self-signed certificate now.
Creating a certificate

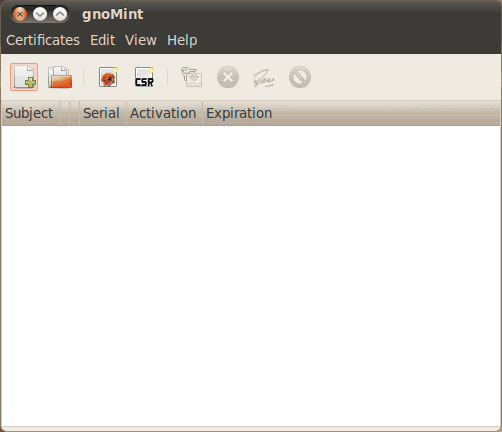
When you open up the gnoMINT application you will see a fairly minimal window (see Figure 1). In this new window you can create a new certificate by clicking Certificate > Add > Self-signed CA. When you do this a new window will open (see Figure 2) requiring the standard information for CAs.
Once you have entered all the necessary information in this window a smaller window appearing needing just a few more details about this certificate. The details you will need are:
- Private key type: RSA or DSA.
- Prive key bit length: 2048 is the default.
- Months before root certificate expiration: 240 is the default. You can not set to this to zero and assume it will not expire.
After you create your certificates they will be listed in the main window.
Exporting your certificates

Although we are not going to discuss how you would add these certificates to your server needs, I do want to mention the export process. From the main window if you right-click a certificate you can select Export. When you do this a new window will open where you can select what you want to export (see Figure 3). You have four options for export. Make sure you select the correct option that will exactly match your servers' needs.
After you export your certificate you will have the necessary files you need and you can simply upload them to your server. You will then need to make sure you configure your server to actually make use of the keys.
Final thoughts
Although the process of creating self-signed certificates by command line isn't challenging, it's nice to have a GUI tool with which to manage these keys. And for those that prefer not to bother learning the command line tools, gnoMINT is and ideal replacement for the command line.
Advertisement


my android phone is new n i’m unable to unlock it. it is asking for network applications of which i know none please help. thanx