Walk-through installation of OpenSuSE 11.2

Lately it has been a veritable onslaught of distribution releases: Ubuntu 9.10, Fedora 12, Mandriva (article coming soon) , Debian 5 (article coming soon), and many more. With all of these releases it's been a real treat to kick the tires and see just how the various distributions put their spin on Linux. Another distribution to release recently is OpenSuSE 11.2.
OpenSuSE serves as the base for Novell's SuSE Linux Enterprise Desktop. In some ways, it's to SuSE what Fedora is to Red Hat. But unlike Fedora, OpenSuSE doesn't live on the bleeding edge. Instead, when a release of OpenSuSE hits the pipes, you can be sure that what you are downloading is a well-tested, solid, trouble-free release.
And like most popular Linux distributions, OpenSuSE offers a Live CD. Most everyone can stick in a CD, boot it, play around with it, and double click the "Install" icon. But what about the full-blown, standard installation DVD? Is that more difficult than the Live CD? I'm glad you asked, because in this tutorial I am going to walk you through the installation (complete with pictures) of OpenSuSE 11.2.
It should go without saying that the first step is to download the ISO image, burn it to disk, put it in the DVD drive, and boot your machine. Once you have taken care of that you are on your way to installation Nirvana. I say that, not necessarily because the installation is the simplest installation you will encounter, but more because it is the cleanest and well thought out installation you might see.

Step 1
The first step (see Figure 1) is to choose the language and the keyboard layout. On this page you will also have the opportunity to read the license agreement. Once you have made these selections, click the Next button to move on.

Step 2
This next step (see Figure 2) will not require any interaction from you. What this step does is analyze your system to gather information that will be pertinent to the installation. There is nothing required of the user here, so just wait until the analysis is complete and then click Next.
Step 3

The next windows (see Figure 3) wants to know the type of installation you are attempting. If you are new to OpenSuSE, most likely this will be a new installation. If you have downloaded either the Non-OSS CD or the Extra Languages CD make sure you click Include Add-on Products before you click Next.
Steps 4 and 5
Because these steps are so simple, there is no need for a screenshot. What you will take care of in Step 4 is to select your time zone. In Step 5 you will select which desktop you want to install. Your choices for desktop are: KDE, GNOME, or Other. If you select Other you will have to install a desktop later on.
Step 6 and 7

The next window (see Figure 4) requires you to select your partitioning. Unless you have a need to use LVM (Logical Volume Management), select Partition Based and click Next. Depending upon the type of partition mode you select, the next window will vary. Most likely you will use Partition Based, so you will only have to select the hard drive you want to use and then click Next.
Step 8

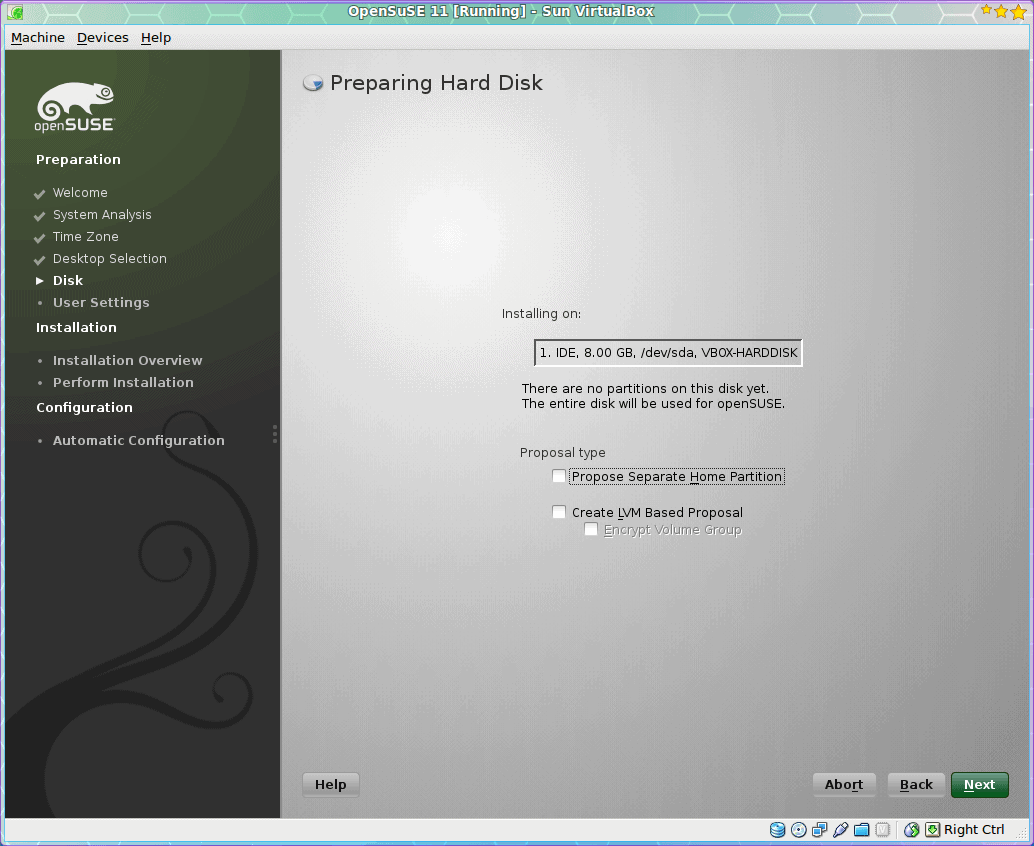
The next step will list what OpenSuSE will be installed upon (see Figure 5) and give you a couple of options. The first option is to have the /home directory placed on a separate partition. This is a good setup if you know there is a chance that you might relocate or share out your /home directory. The second option is if you want to reconsider using LVM and to encrypt your home directory.
Make your choices and click Next.
Step 9

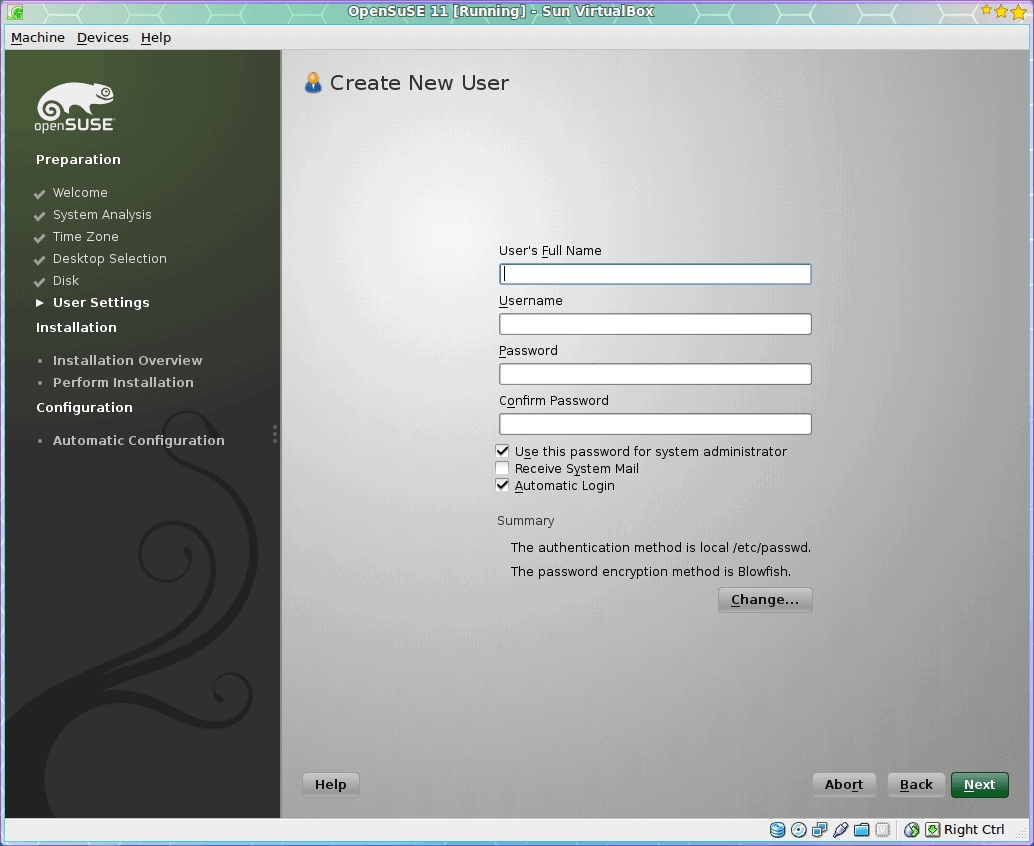
Now it's time to create a user for your OpenSuSE system (see Figure 6). The only option that might seem different is the ability to use your user password as the system administrator password. If you are of the paranoid mind you most likely will skip this option. Click Next to continue on.
Step 10, 11, 12, 13

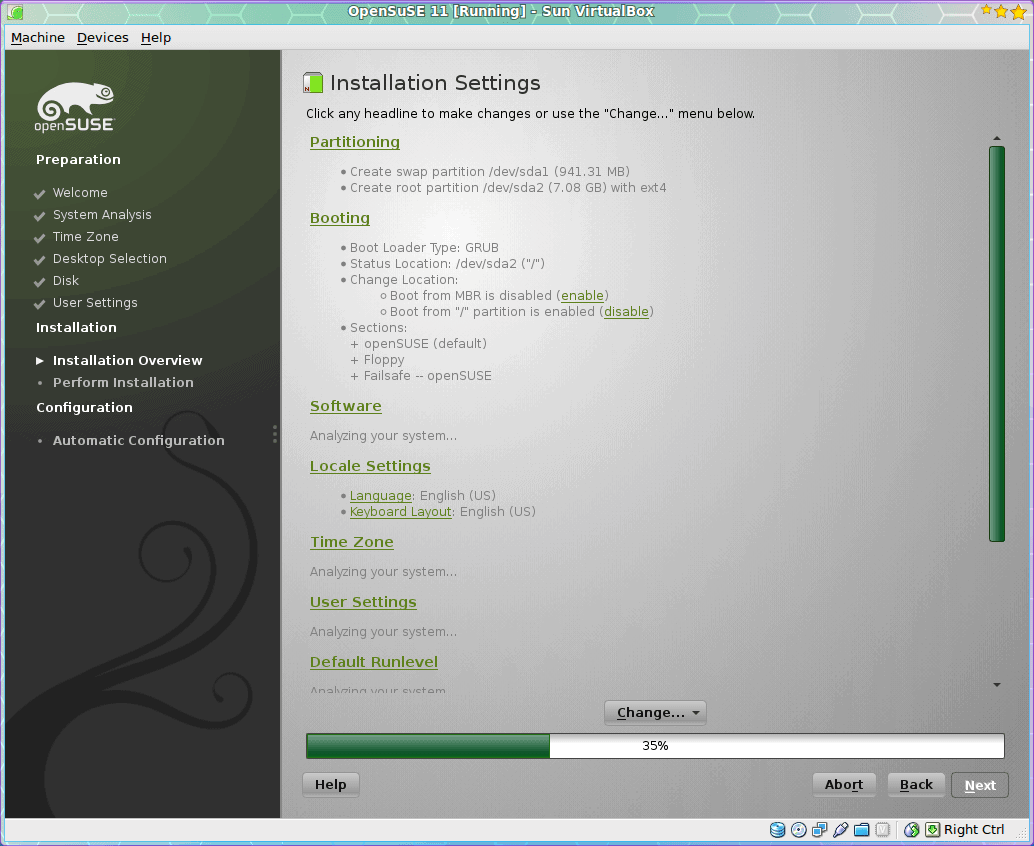
The final steps of the installation are all either summary windows or progress windows (see Figure 7 as an example). These do not require user intervention.
The results

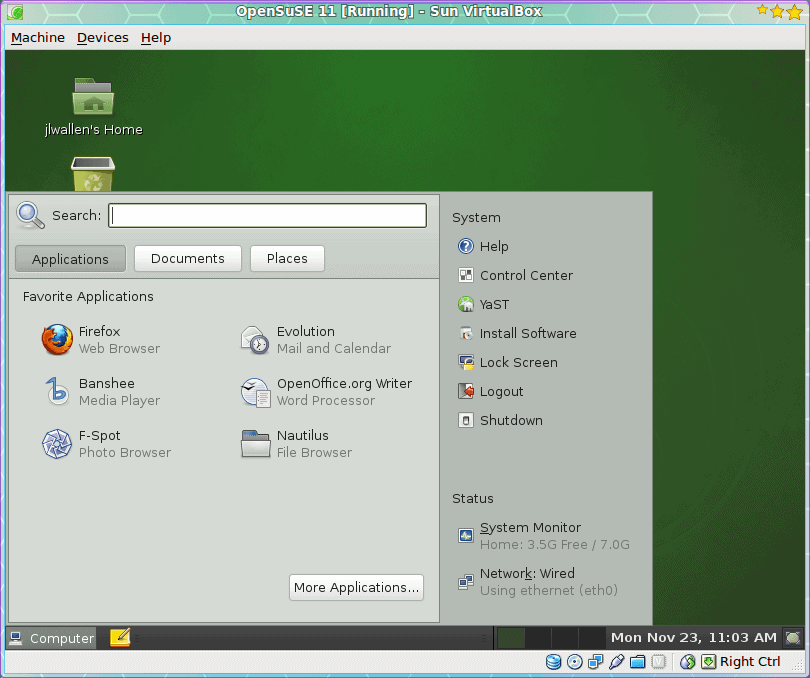
Finally the system will be installed and you will have a brand new OpenSuSE Linux desktop system (see Figure 8). You will find that OpenSuSE has tweaked the GNOME desktop to look and feel a bit differently than the standard GNOME desktop. This is more in-line with the Enterprise desktops you will see with SLED and RHEL.
Congratulations, you are the proud owner of an OpenSuSE Linux desktop. I have a feeling you will enjoy a long, happy life together.


@Peter,
I’ve been trying to install a suse 11.2 VM with Sun Virtualbox on my Windows 7 machine and it always hangs at the Automatic Configuration step it does its restart.
I understand how to do what you mentioned there but I have no idea which process to kill. Could you point out which one it is please?
Hi Jack,
I notice you tactfully omitted to mention that more often than not, the openSuSE 11.2 x86_64 installer hangs during packages installation when it reaches the grub package. If this happens, all is not lost. Press Ctrl-Alt-F2 and use ‘ps -fe’ to spot the grub –batch process. Send it an ordinary TERM signal by doing ‘kill ‘ and the packages installation will resume over on the Ctrl-Alt-F7 screen.
I can certainly appreciate this post, as many others will.
I’d like to mention one thing most folks miss, especially
those who are seasoned (SuSE) Linux users – I refer
you to “Step 3” – look for the innocuous and somewhat
“hidden” checkbox: “Use Automatic Configuration”
If you want to have control over the partitioning and the
configuration of GRUB, you’ll want to UNCHECK that
particular checkbox, otherwise, the openSuSE installer
will make its own decisions about hard drive configuration
and GRUB placement /configuration.
Sometimes it’s better to have complete control over the
installation process … if you miss this screen’s option,
then you’ll soon discover you don’t have control.
Regards, mjt … author, “Inside Linux”