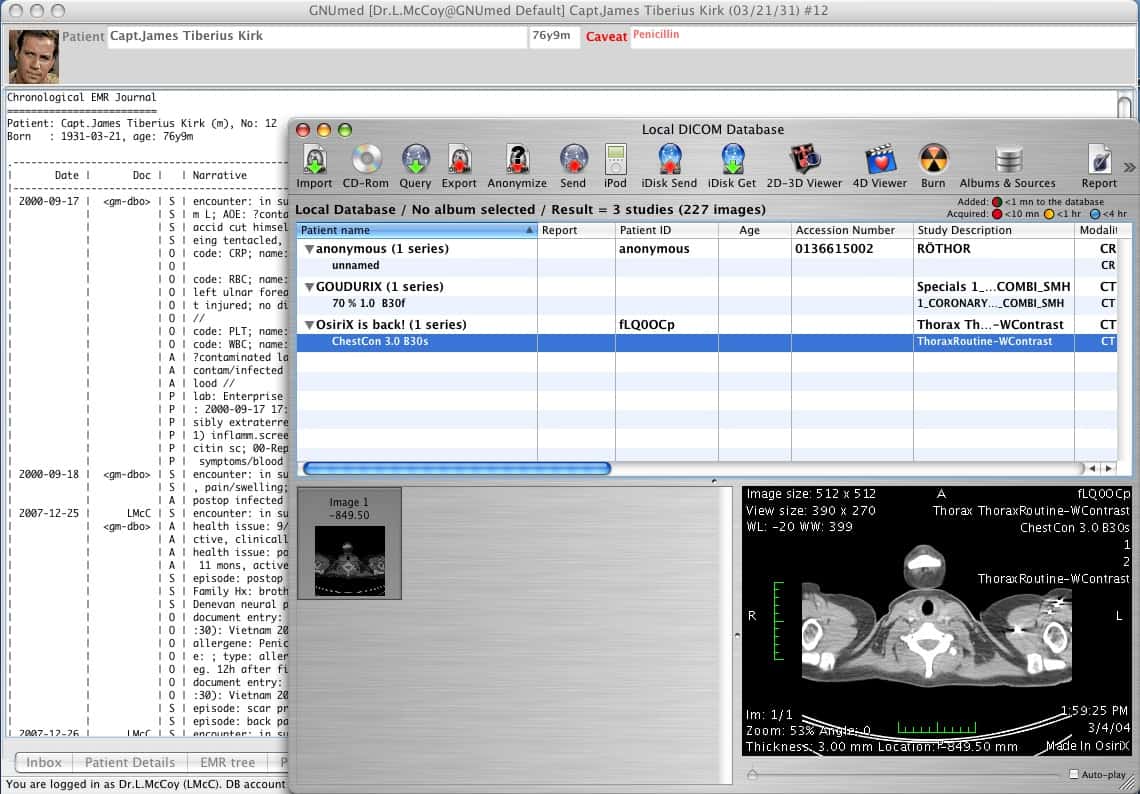
Set up a Gnumed backend server

Recently I covered the front-end of the Gnumed software designed for the medical industry (see "Let your medical practice go open source with Gnumed.") In that article I showed you how to start working with Gnumed, but limited the installation to using the public servers. Because these public servers can not safely and securely hold patient data, it is necessary to be able to set up your own backend server for this purpose. That is where this tutorial comes in.
In this article you will learn how to install everything you need to get your Gnumed front end connected to a locally hosted Gnumed backend server. I will be illustrating this on Ubuntu 9.10 with the end result being a local-only installation. Of course the necessary modifications to make this a LAN-based installation shouldn't be difficult for you, once you have the local install up and running.
This article comes a good time because this month it was just announced that new versions of Gnumed will include both medication management and prescription handling as well it was announced (on the Gnumed Blog) that a company is working on a billing feature for inclusion in a future release of Gnumed. That is certainly good news.
But, for now, let's get on with the server installation.
Before we continue, make sure you have a working installation of PostgreSQL up and running. For more information on this take a look at my article "Basic postgresql server setup."
Once you have PostgreSQL up and running you are ready to go.
Installing the backend
Go do the Gnumed server download mirror page and download the gnumed-server deb file (just click on a mirror). Once that file is downloaded open up a terminal window, cd to the directory you saved the file to, and issue the command:
sudo dpkg -i gnumed-server*
which will install the server.
As soon as the server is installed you have to create the databases used by Gnumed. Fortunately the Gnumed server package includes a simple command for this. From your terminal window issue the command:
sudo gm-bootstrap_server
This command will take some time to run its course. And, in the end, it might seem like you have some errors. These errors most likely mention a password - it is safe to ignore those errors.
Configuration
There are only two configurations you have to take care of. The first is to copy the proper .conf file into the ~/.gnumed directory. The file you want to copy will be /etc/gnumed/gnumed-client.conf. Copy that with the command:
sudo cp /etc/gnumed/gnumed-client.conf ~/.gnumed
You really only need to make one change in that file. Look for this section beginning with:
[profile local GNUmed database]
host =
You want to change the host = line to reflect:
host = localhost
Now you need to make a change to a PostgreSQL file. The file in question is /etc/postgres/8.4/main/pg_hba.conf. You have to add a section to a very specific section of this file. Look for this line:
# TYPE Â DATABASE Â Â USER Â Â CIDR-ADDRESS Â Â METHOD
Underneath that line you need to add:
local  samegroup  +gm-logins  md5
Once you have added that, save the file, and restart PostgreSQL with the command:
sudo /etc/init.d/postgresql-8.4 restart
Log in
Now it's time to start up Gnumed and log in to your local server. When you start you will want the following login information:
- Backend: local Gnumed database
- Username: any-doc
- Password: any-doc
Hit the OK button to begin the login process. You will have to walk through a couple of windows (such as the language mismatch settings). But after that you will up and running with your own Gnumed backend server.
Final thoughts
It would behoove anyone medical practitioner looking to cut some corners (and wanting to take care of their own tech) to deploy Gnumed. And with the upcoming features, Gnumed is an outstanding solution.
Advertisement


