Create Your Personal Online Hub with Card.ly

For more and more people these days, our identities are centered online. Whether you have a company, a blog, or just a Facebook page, most of us have some sort of online presence.
The problem arises, however, when we’ve got more than one space online where we’re present. And that’s true for a huge, and rapidly-growing, percentage of people. How do we keep interested people, whether it’s one person or ten million, in the know about all the different places we’re active?
The best solution is also the most expensive and time-consuming: creating, maintaining, and updating a personal website. There’s something to be said for that, but what about all the people without the money, time, or interest in creating a whole website?
If you’re in that realm, try Card.ly, a service that aggregates and shares your entire online presence. It’s a personal website for those who don’t want a personal website.
The first step is to sign up: You’ll choose a password, and an email address. At the same time, you’ll pick a username: this will be the name used to find your page at the url http://card.ly/yourusername. Choose carefully, because that name becomes your brand (using the same name as your Twitter or Facebook page is a good idea).
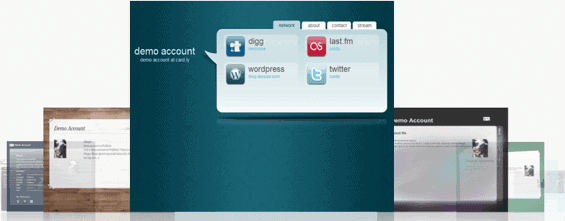
Once you’ve signed up, you begin by adding social network accounts to Card.ly. Currently, the site supports, among a huge number of others: Blogger, Delicious, Digg, Disqus, Facebook, Flickr, Friendfeed, Google, Last.fm, Linkedin, MySpace, Reddit, StumbleUpon, Twitter, Vimeo, WordPress and YouTube. And those are just the better-known ones – there are even more supported services.

To add a network, all you have to do is enter the username. There’s no need for passwords, so no security issues – since you can’t add information through Card.ly anyway, there’s no need for a password anyway.
Next, you’ll add some personal details about yourself – a bio of sorts. Add your name, birthday, gender, location, and pick an avatar (you can pick and choose among these – don’t share what you don’t want to). Add your IM accounts, RSS feeds, and whatever other information you want. Below it, there’s a space for a longer-form bio, as well as a space to put contact info – this is where to put an email, or a phone number you want people to be able to reach you at.
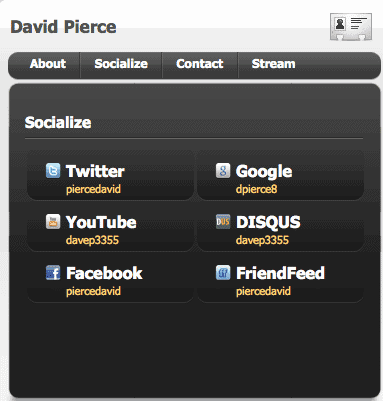
The design of the Card.ly site is your choice, too – well, out of 27 templates. They’re nice-looking, though, and most people should be able to find something useful from them. The design's the last step, and then you've got a page that might look something like this:
Once you’ve got your Card.ly account set up how you want it, start sharing! Card.ly lets you send a message on Twitter about it, as well as tons of embed codes for various sites; or you can just share the URL of your profile anywhere on the Web.
If you want even more features (like registering your own domain, removing ads, or tracking all the statistics on your site) you’ll want to get a Premium account – either $2.99 a month or $24.99 a year. The free version, though, will be more than enough for most people.
If you’re looking to build a brand online, there’s no better way to do it than to have a personal website. If you don’t want to pour your time, money and energy into it, though, Card.ly makes simple work out of it.
How do you manage your presence online, especially across multiple places?
Advertisement